Beckwith Strings

Handcrafted Guitars and Stringed Instrument Repair

Next Monthly Jam: May 11th 2025, 12pm-3pm

Beckwith Strings in the News!

  • Home
  • Stringed Instrument Repairs
  • About
  • Custom Guitars
  • Guitars
  • Guitar Tips
  • Contact
  • Events

An Acoustic Pickup Primer

June 9, 2016 By Steve Beckwith 1 Comment


So it’s time to make the big move and take your music to the street!   Perhaps, you’re going to hit some open mikes or maybe play a few house parties or local pubs with a friend or two.   Whatever your plans, you’ll want a pickup for your acoustic guitar.     There are literally hundreds of pickups on the market and choosing what’s correct for you could be a daunting task.   This article will give you the knowledge to walk into a music store and make an informed decision on your pickup purchase!

Acoustic pick-ups come in three categories, piezoelectric, microphone and magnetic. They are all similar in that they each generate an electrical signal (to be later amplified) that is analogous to the sound of the instrument. They are dissimilar in how they generate the electrical signal.   There are different price points on pickup type and the adage “you get what you pay for” certainly comes into play in purchasing a pick-up.

Transducers (Piezoelectric) Pickups

Movement (vibration) of an instrument’s top, back and sides moves the air in the guitar to make the sound that reaches are ears.   Transducers utilize piezoelectric technology to generate an electrical signal from the same vibration that moves the air in the instrument and as such, the electrical signal does an excellent job of reproducing the acoustic sound of the guitar.

IMG_2600
Figure 1. The saddle has been removed from the bridge to show the location an under-saddle transducer.
IMG_2538
Figure 2. A view of the inside of the a guitar top with three K&K Sound transducers are attached directly under the bridge.
IMG_2318
Figure 3. An LR Baggs  under-saddle pickup: Top – preamp (inside jack), Center- tranducer, Bottom – battery connector and volume control.

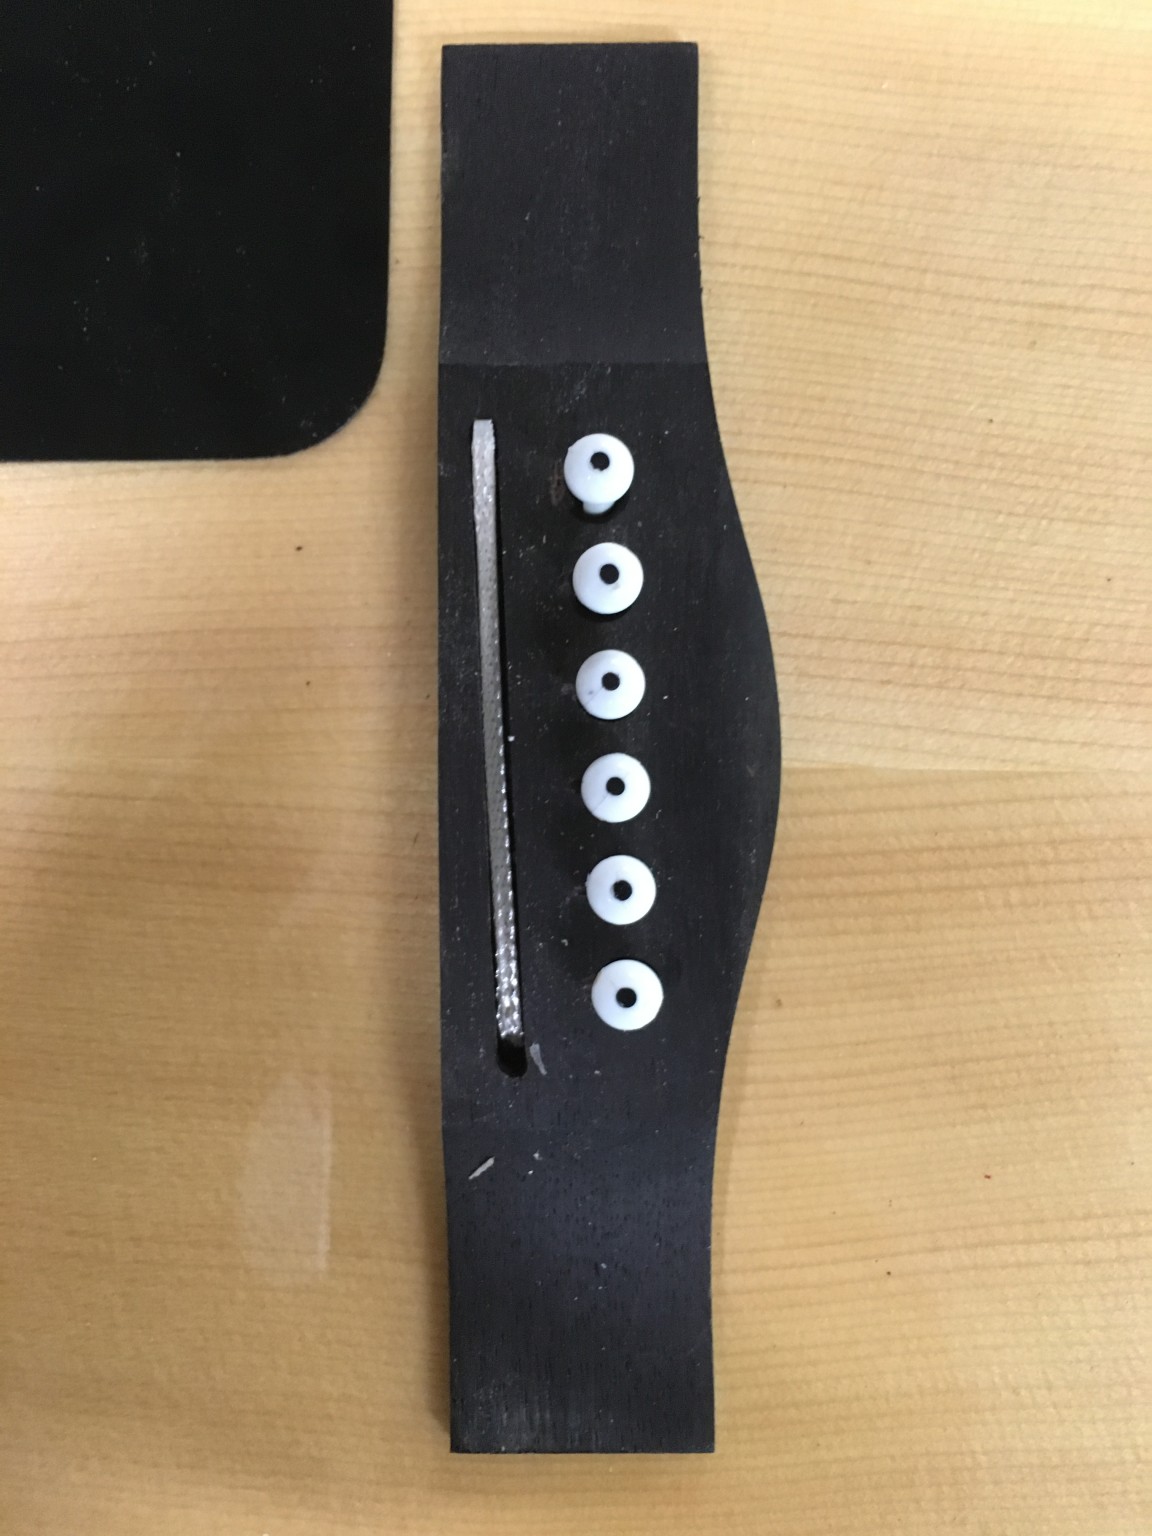
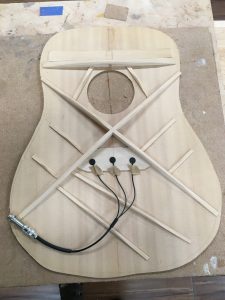
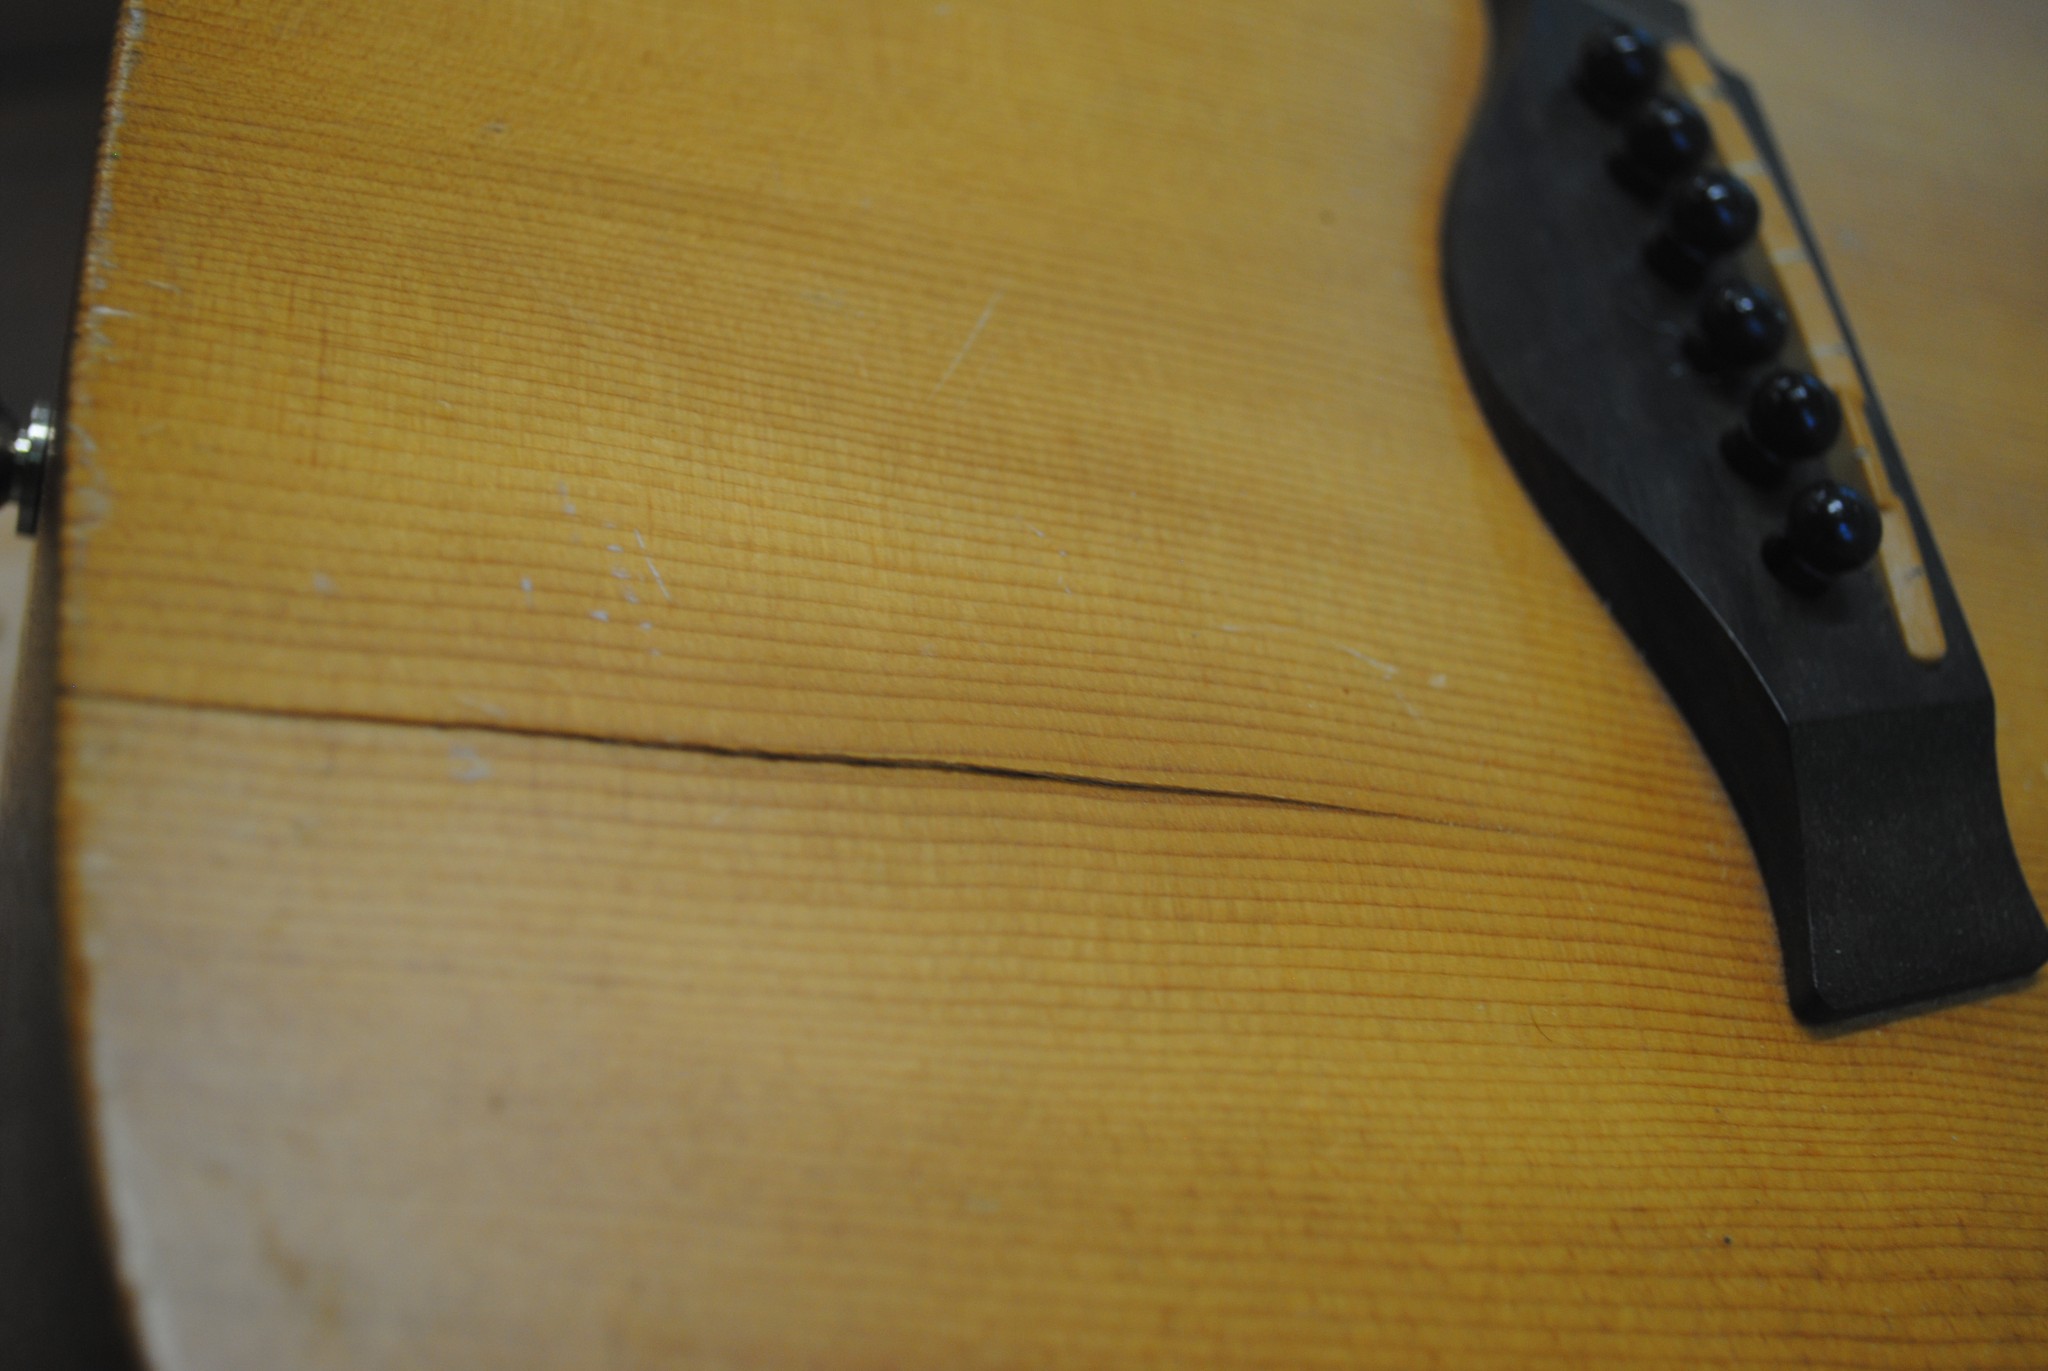
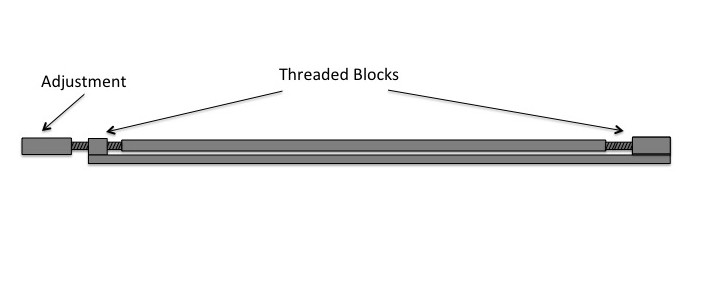
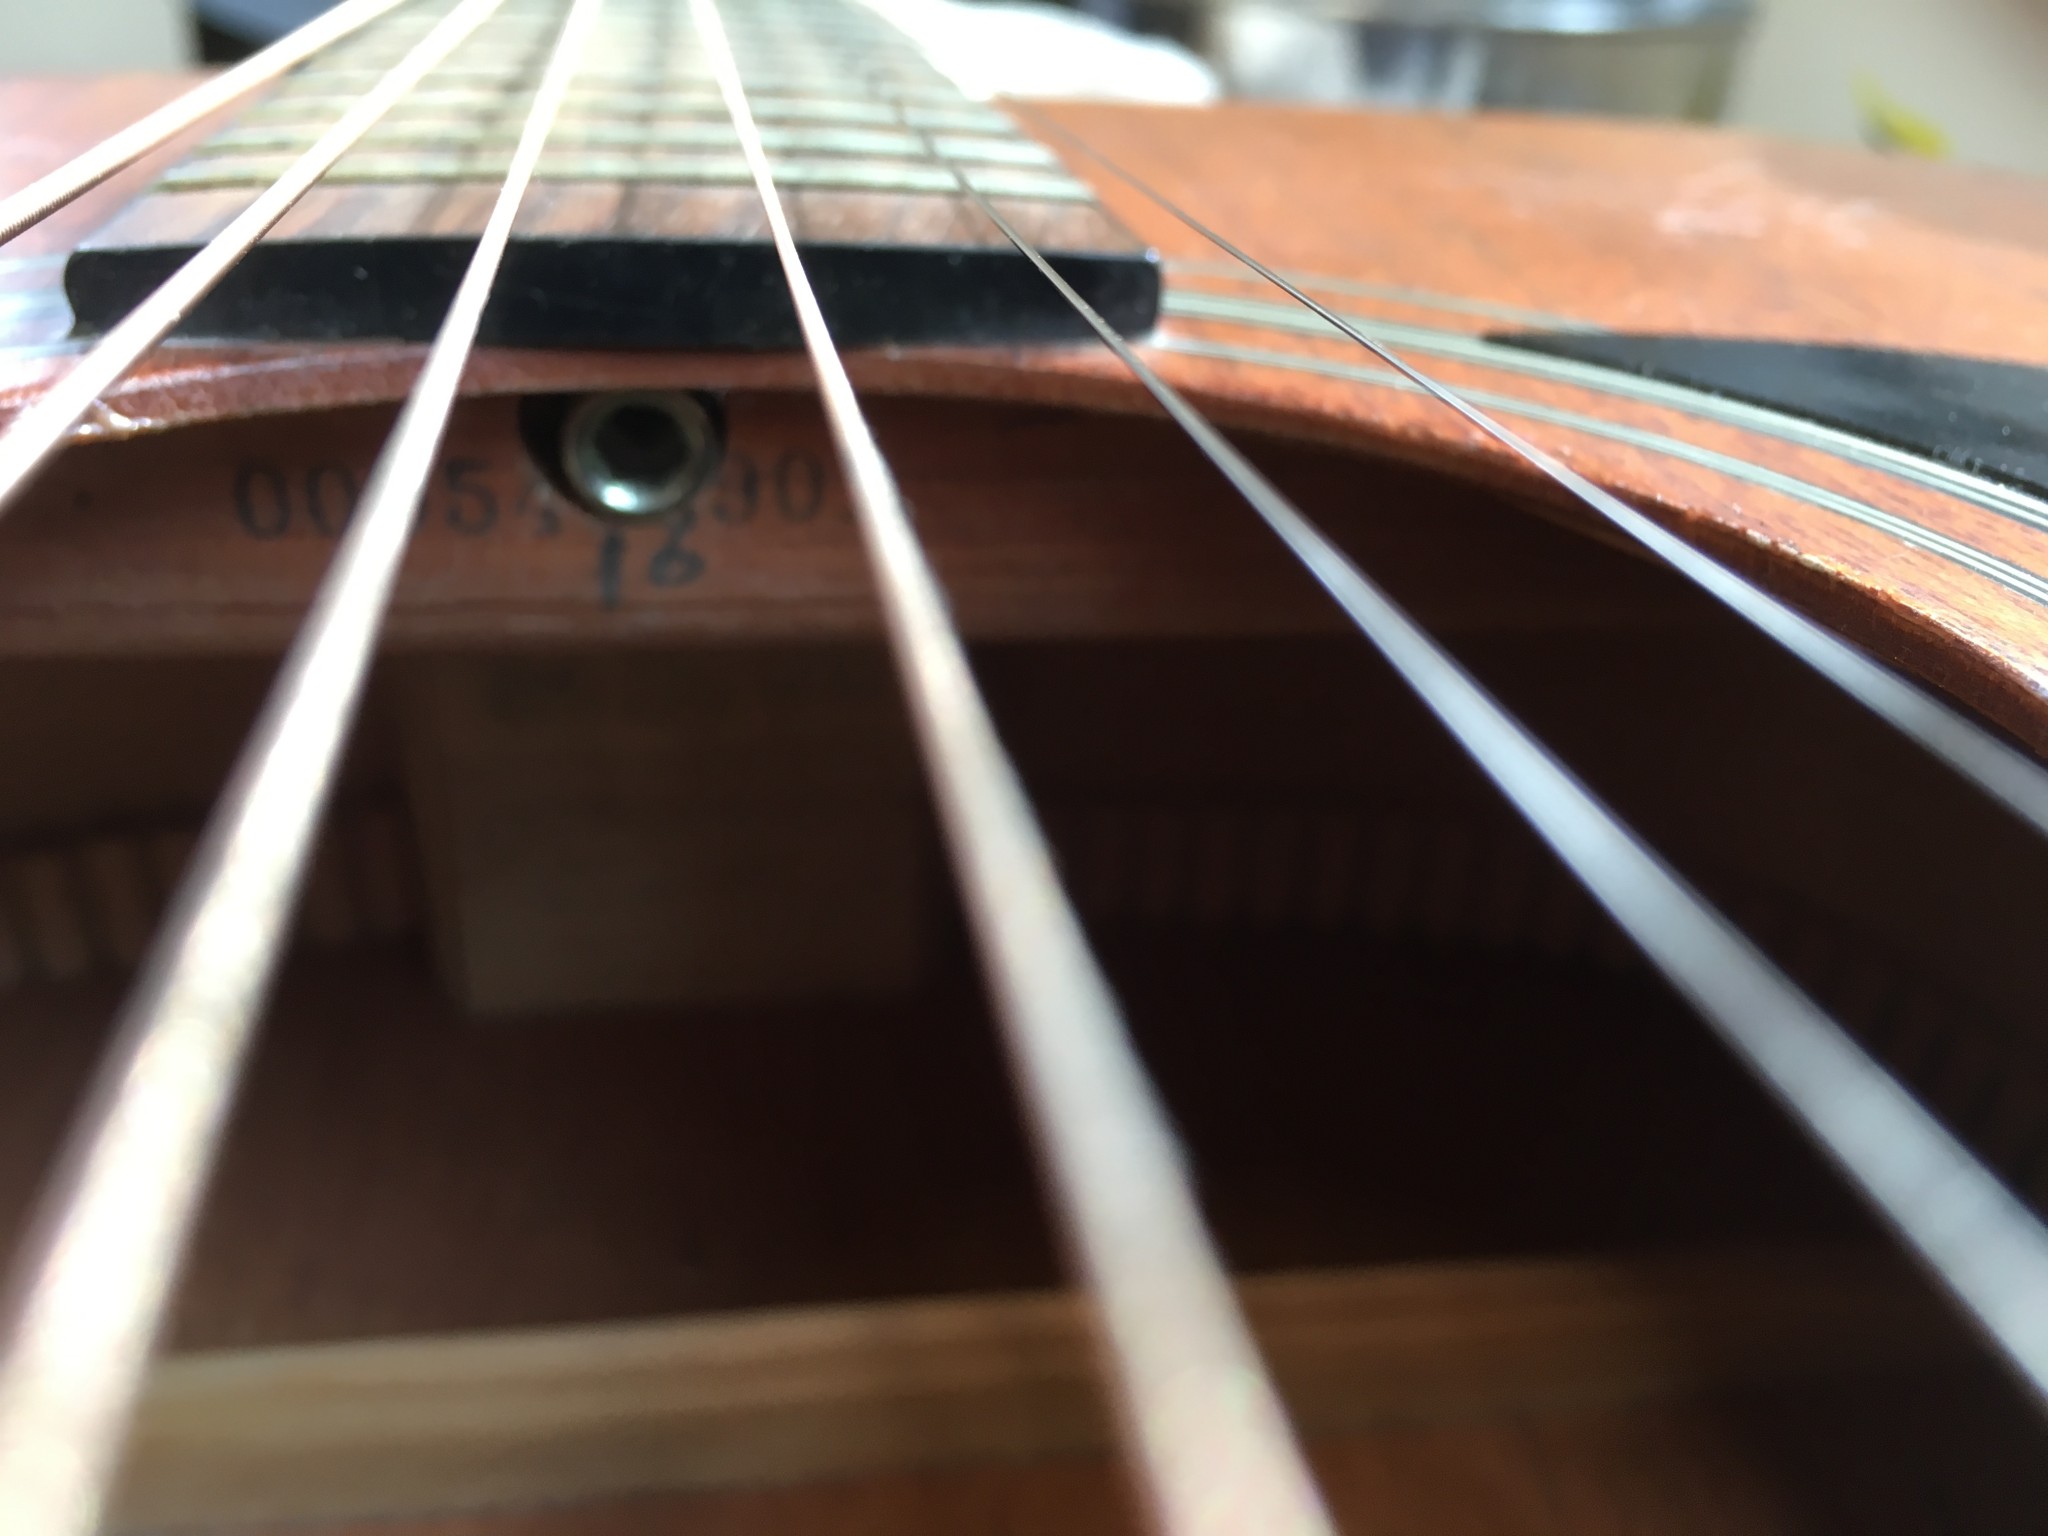
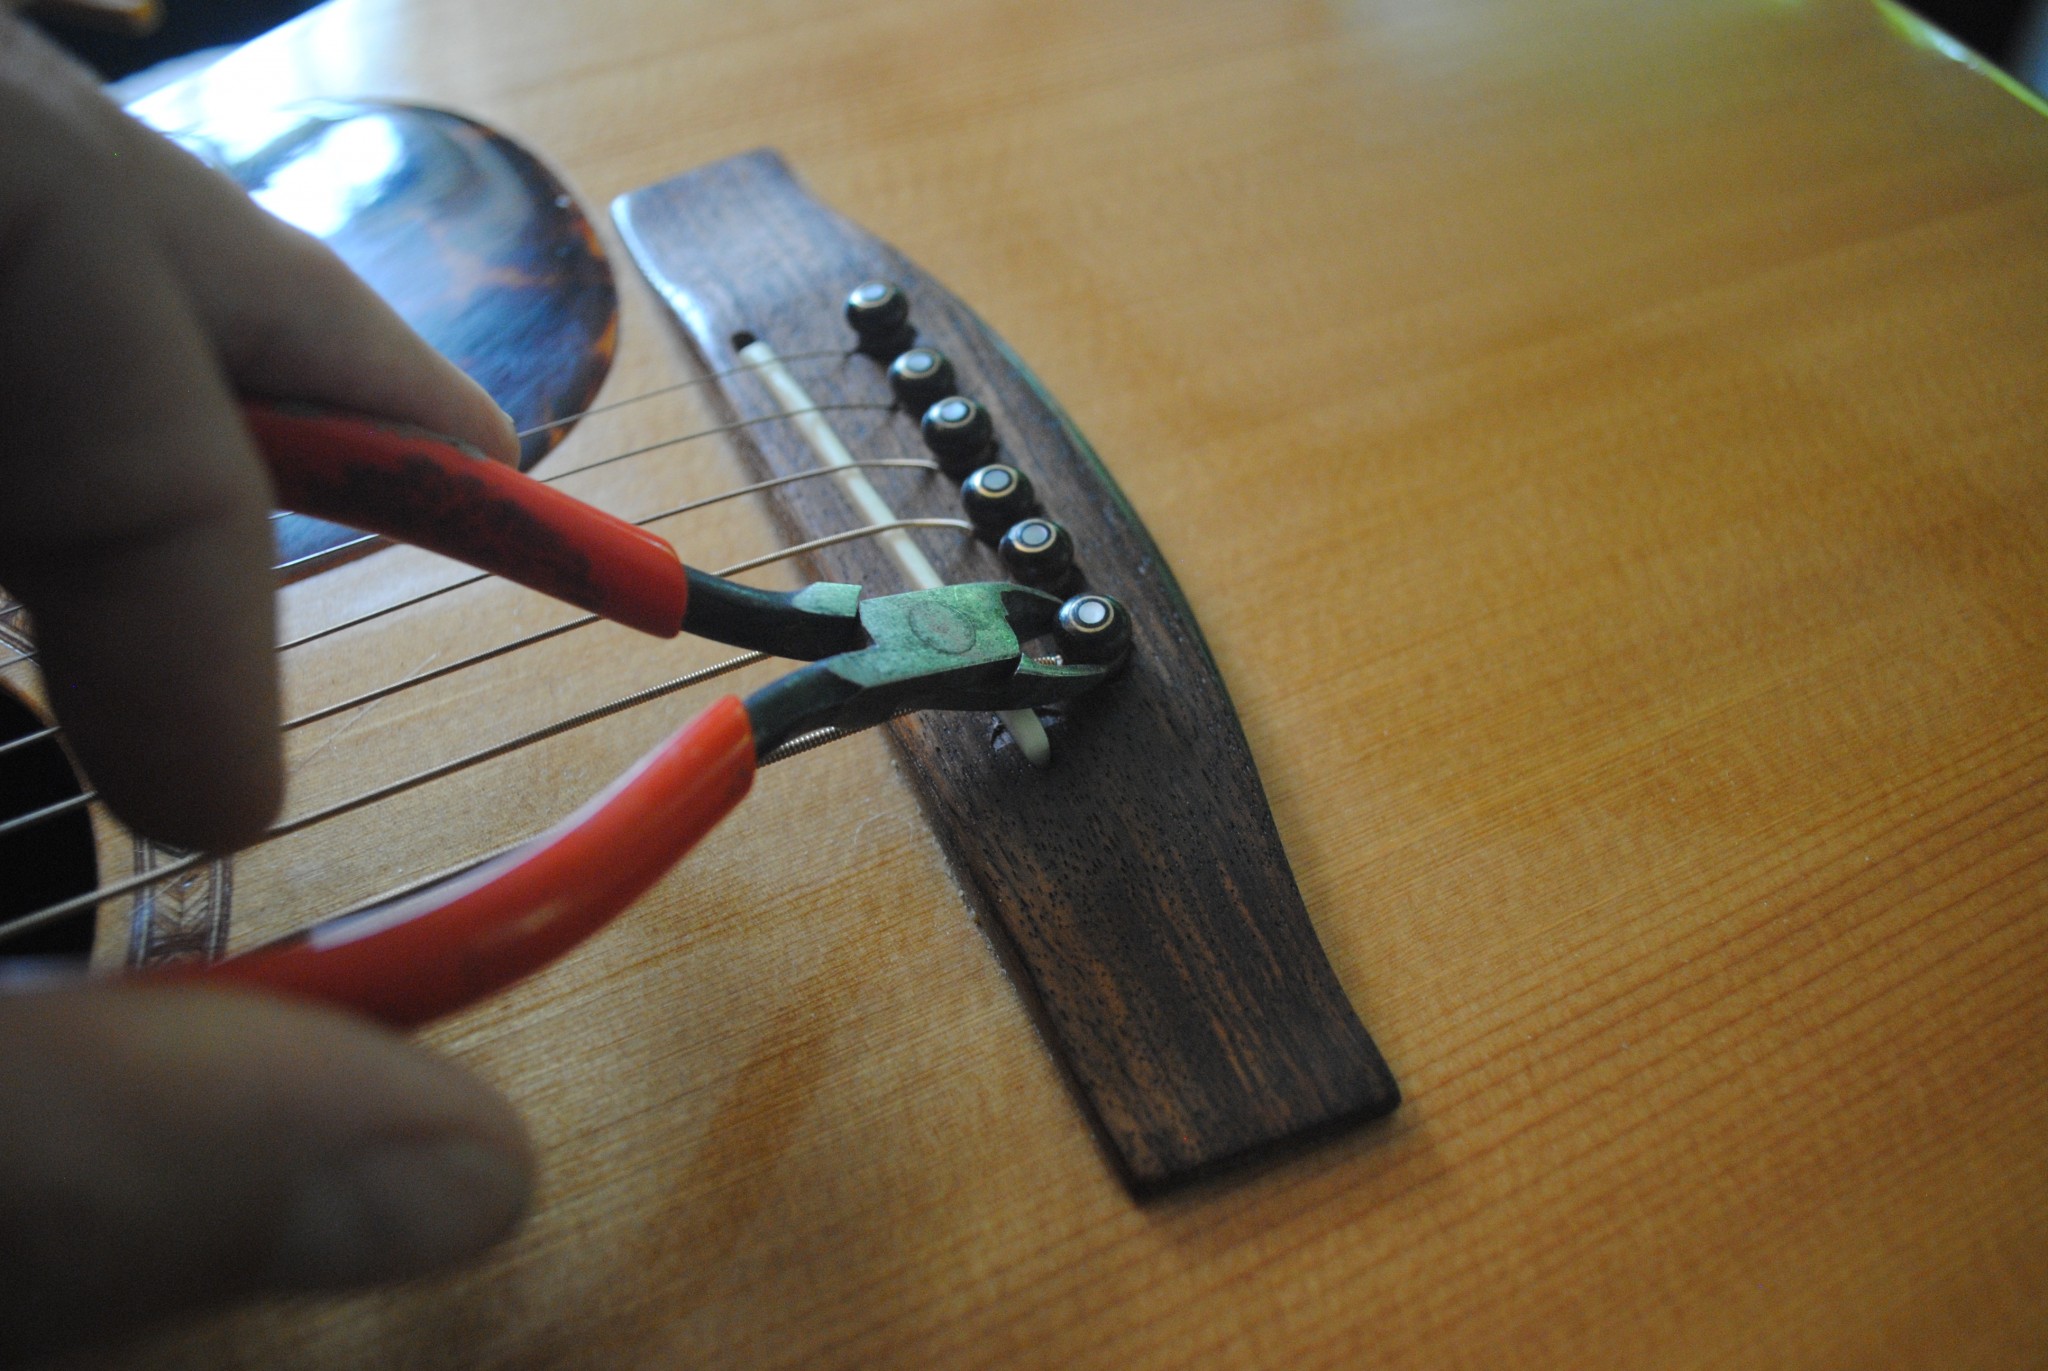
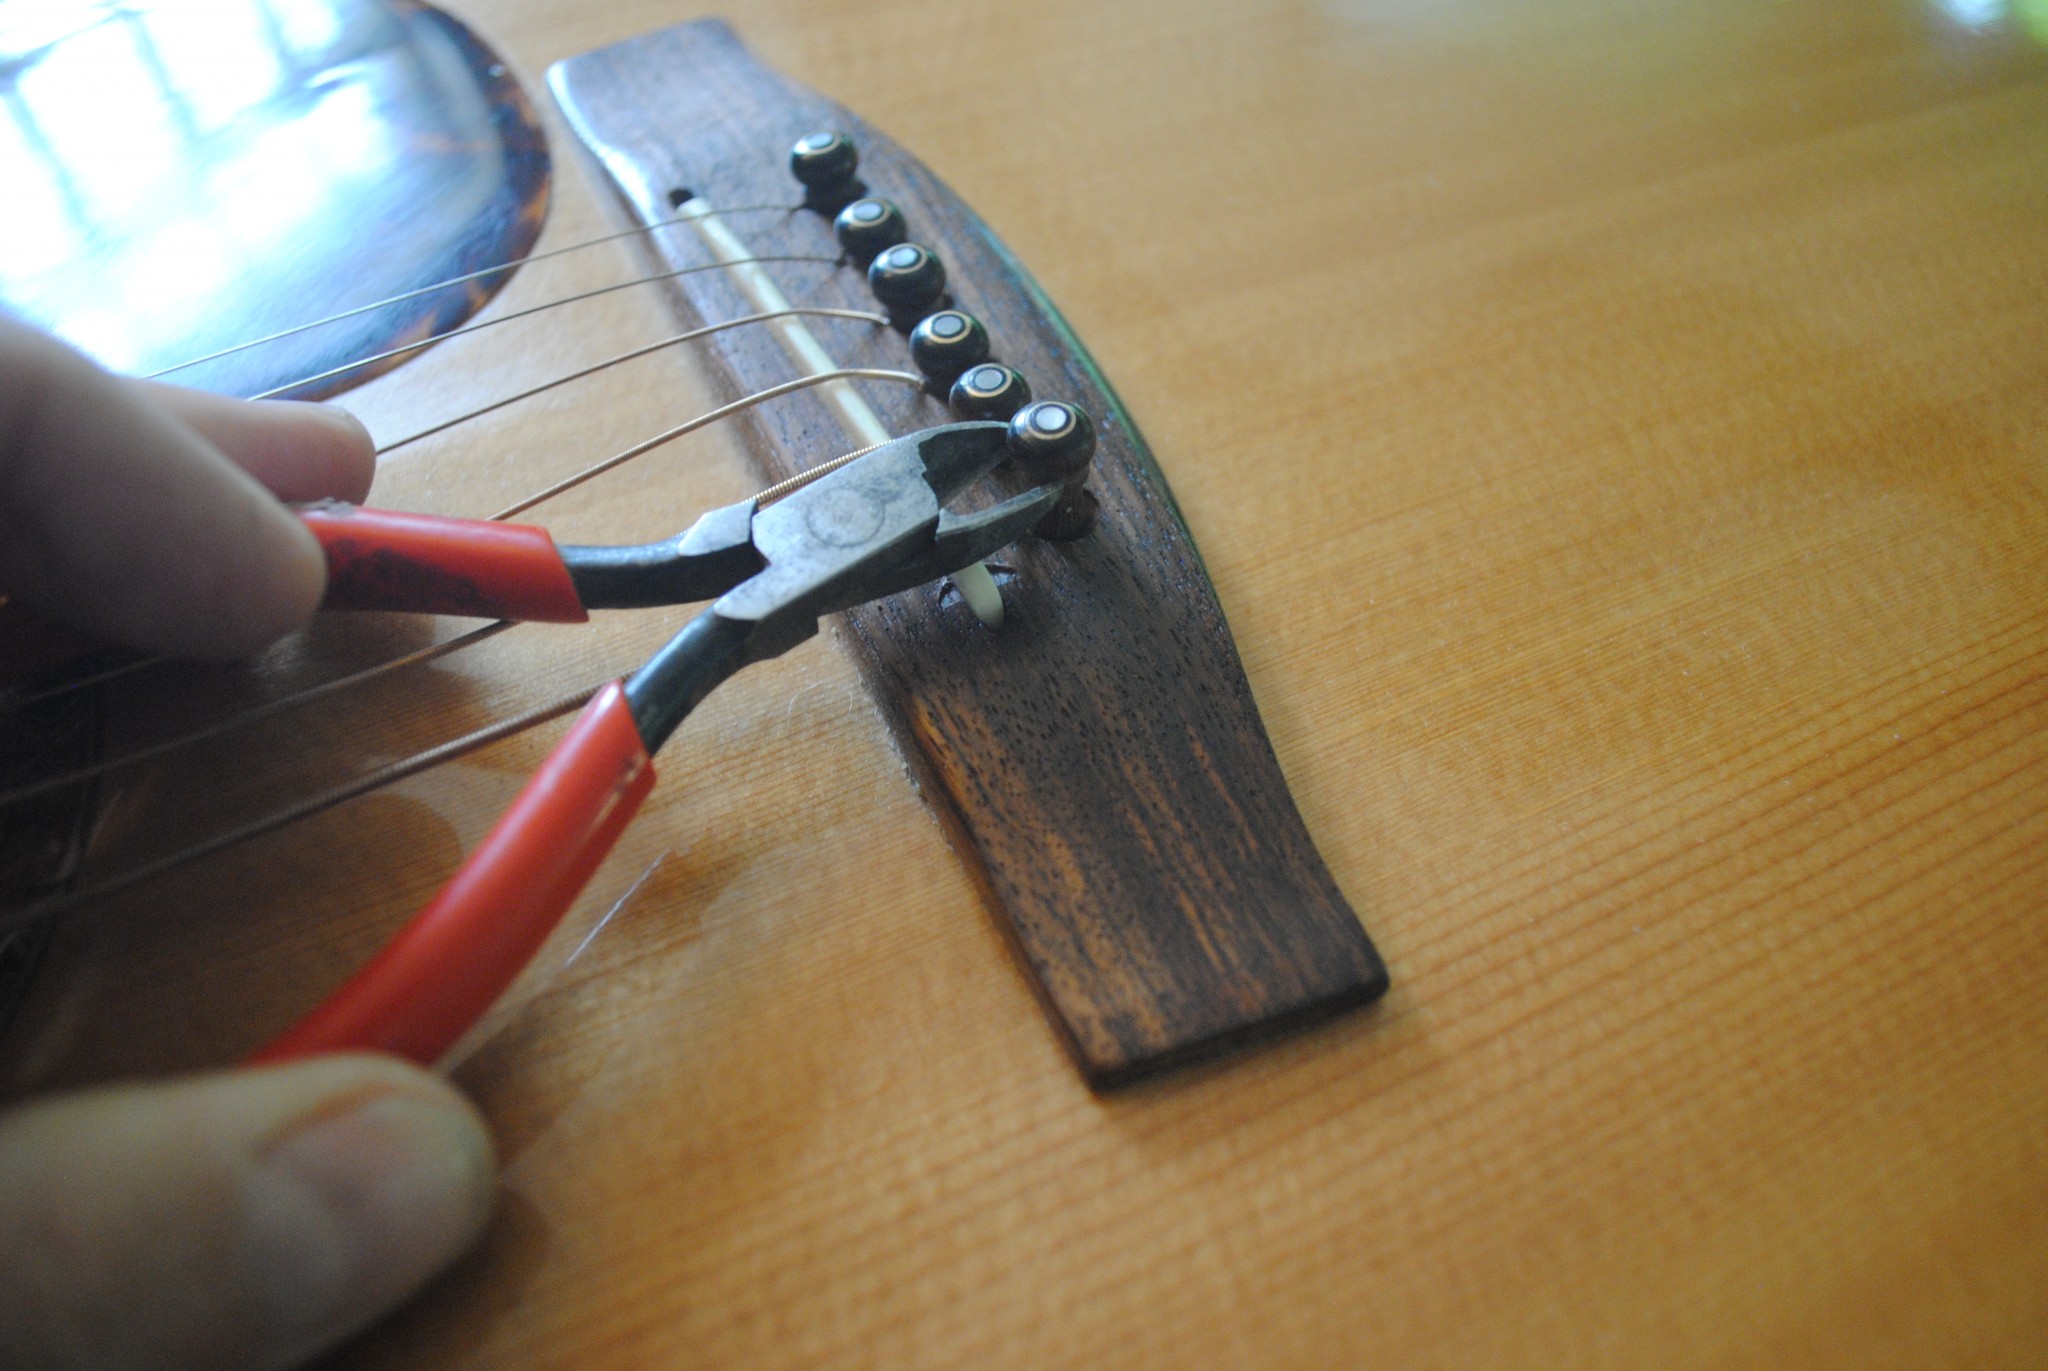
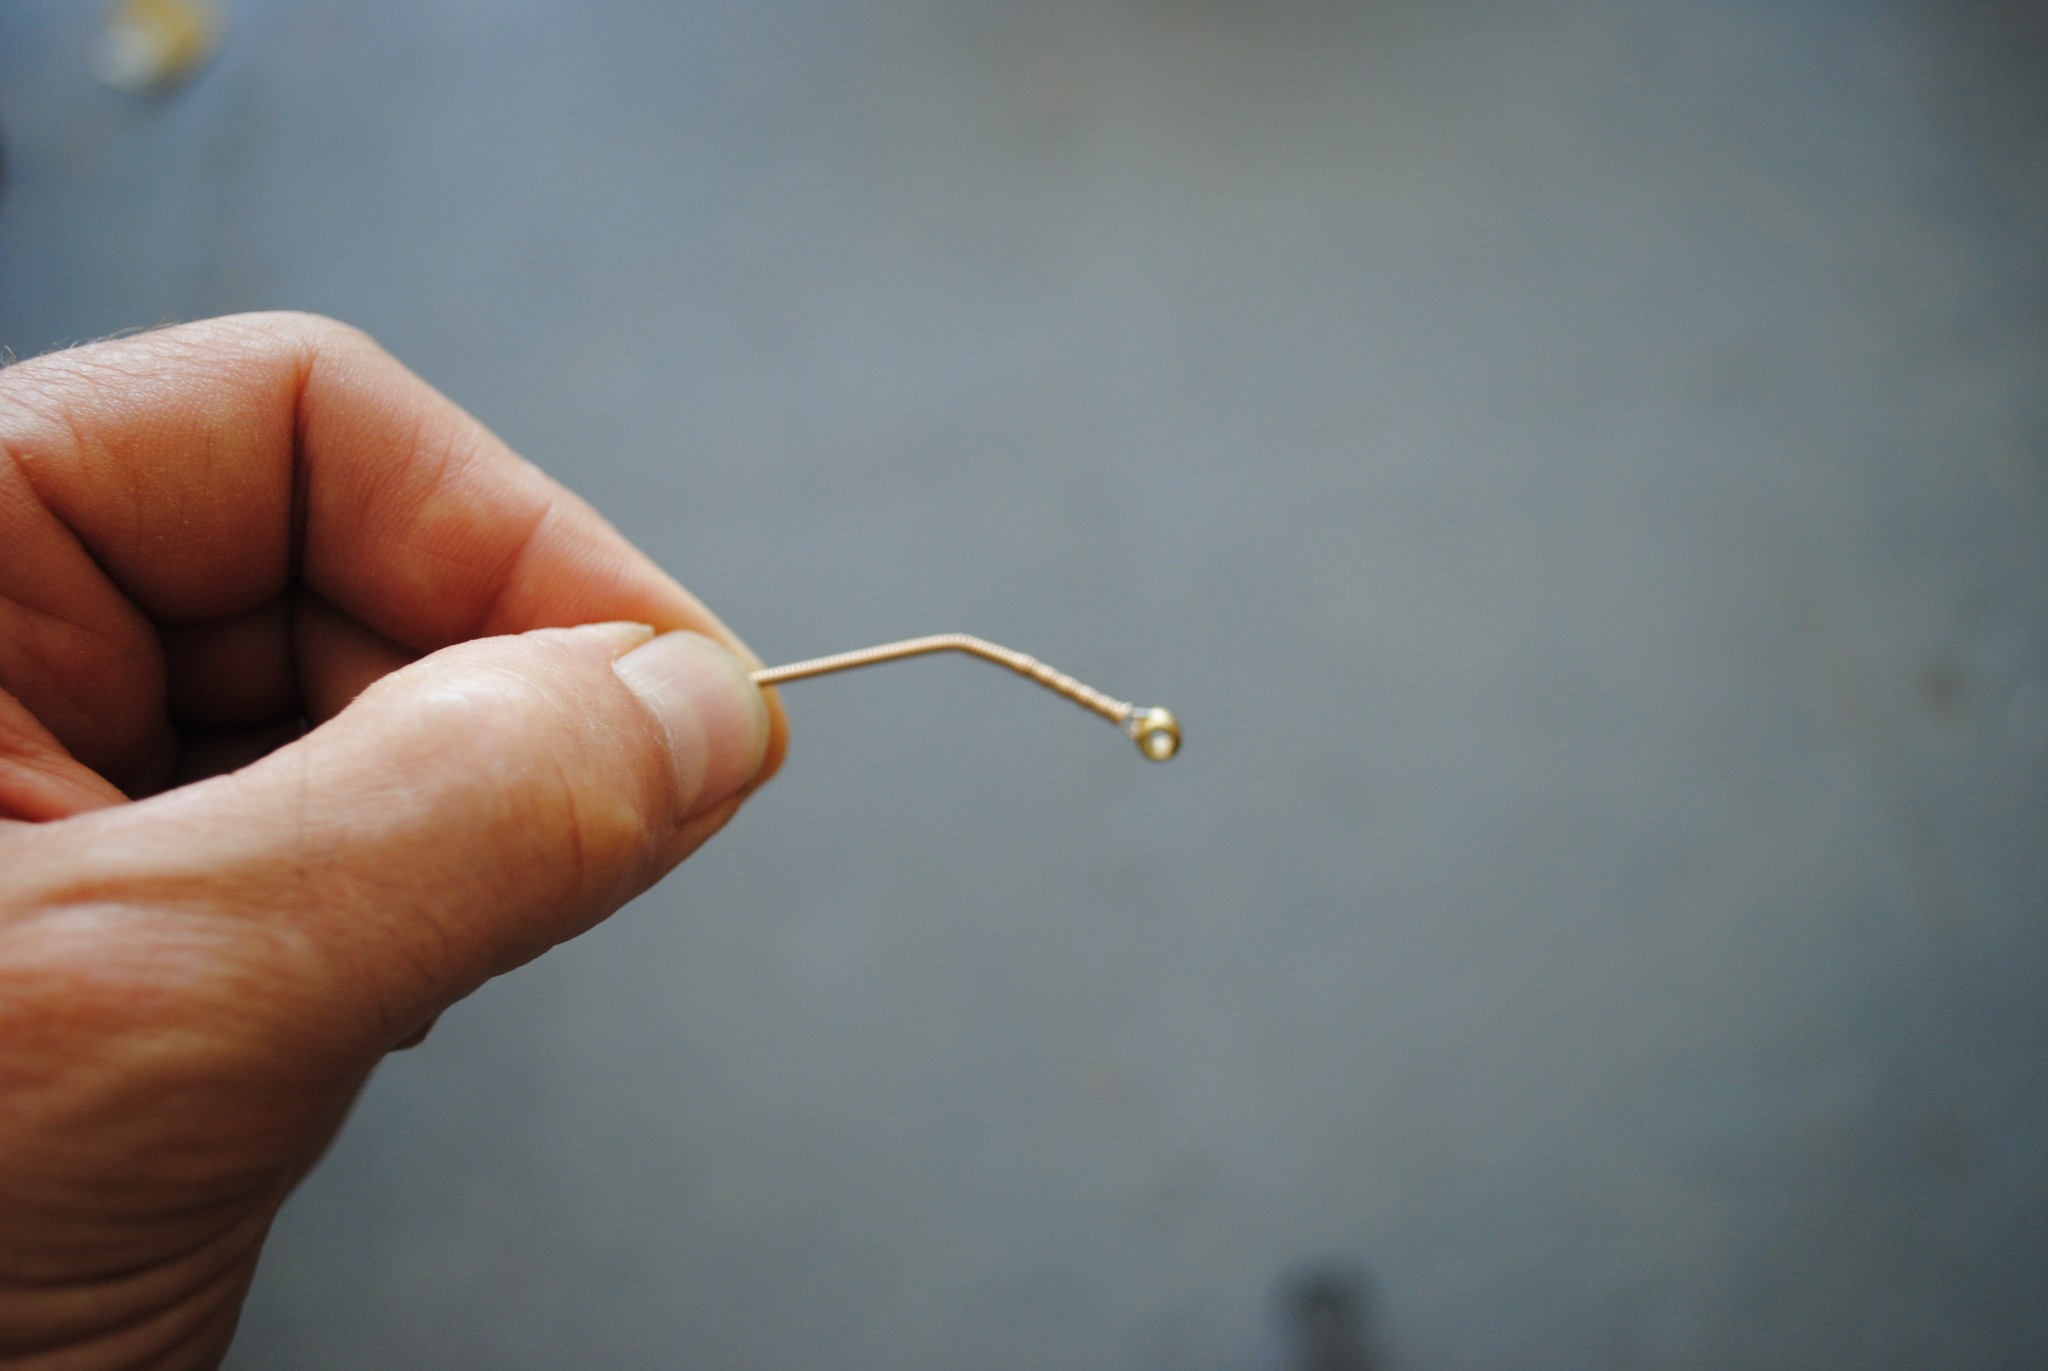
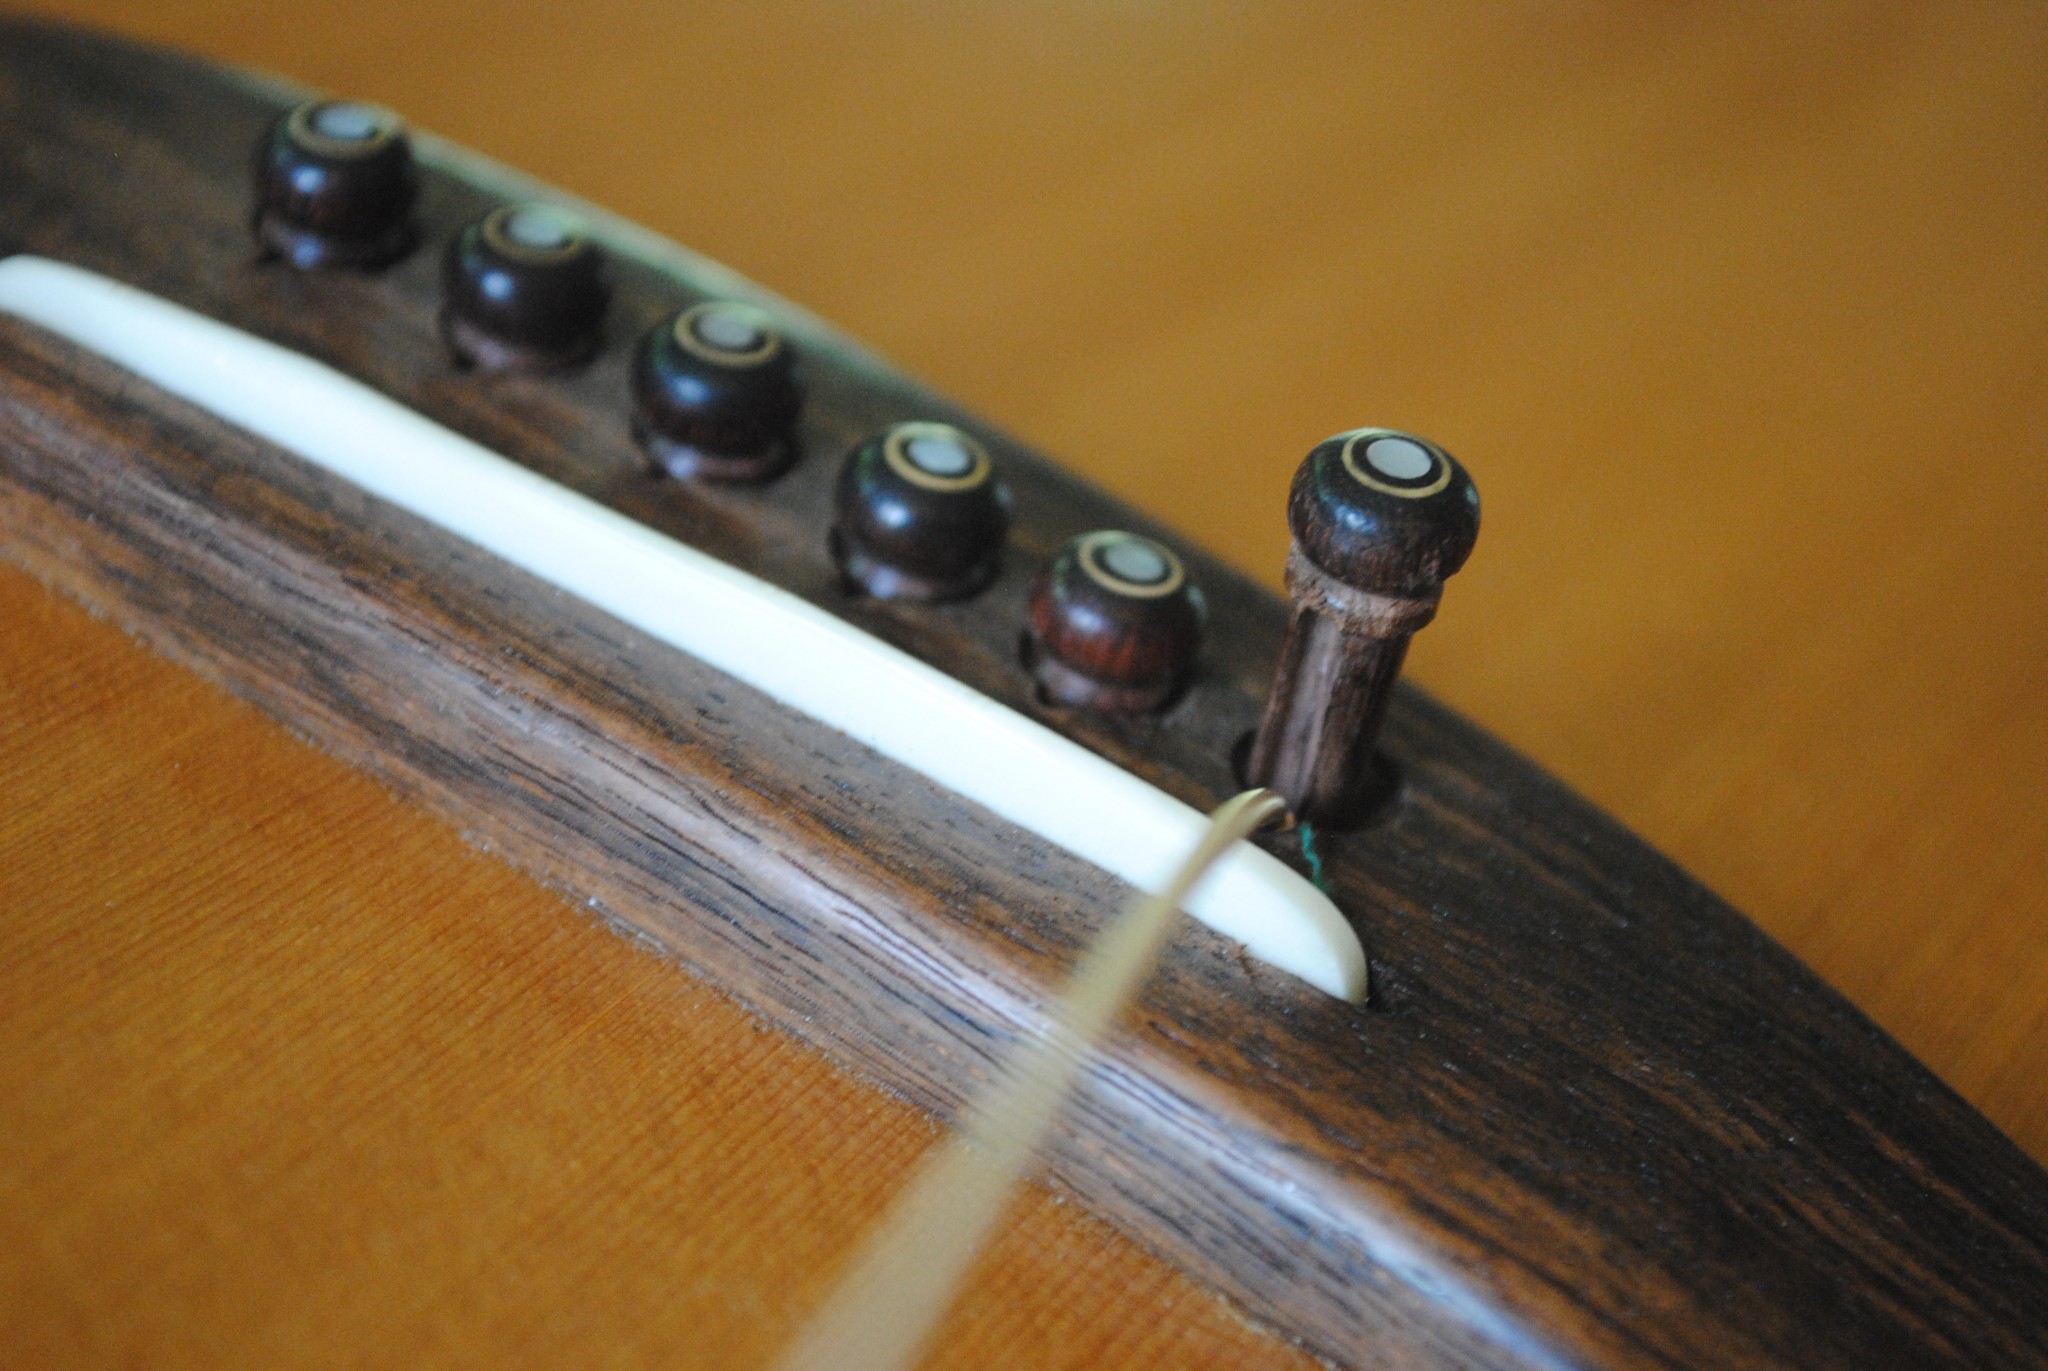
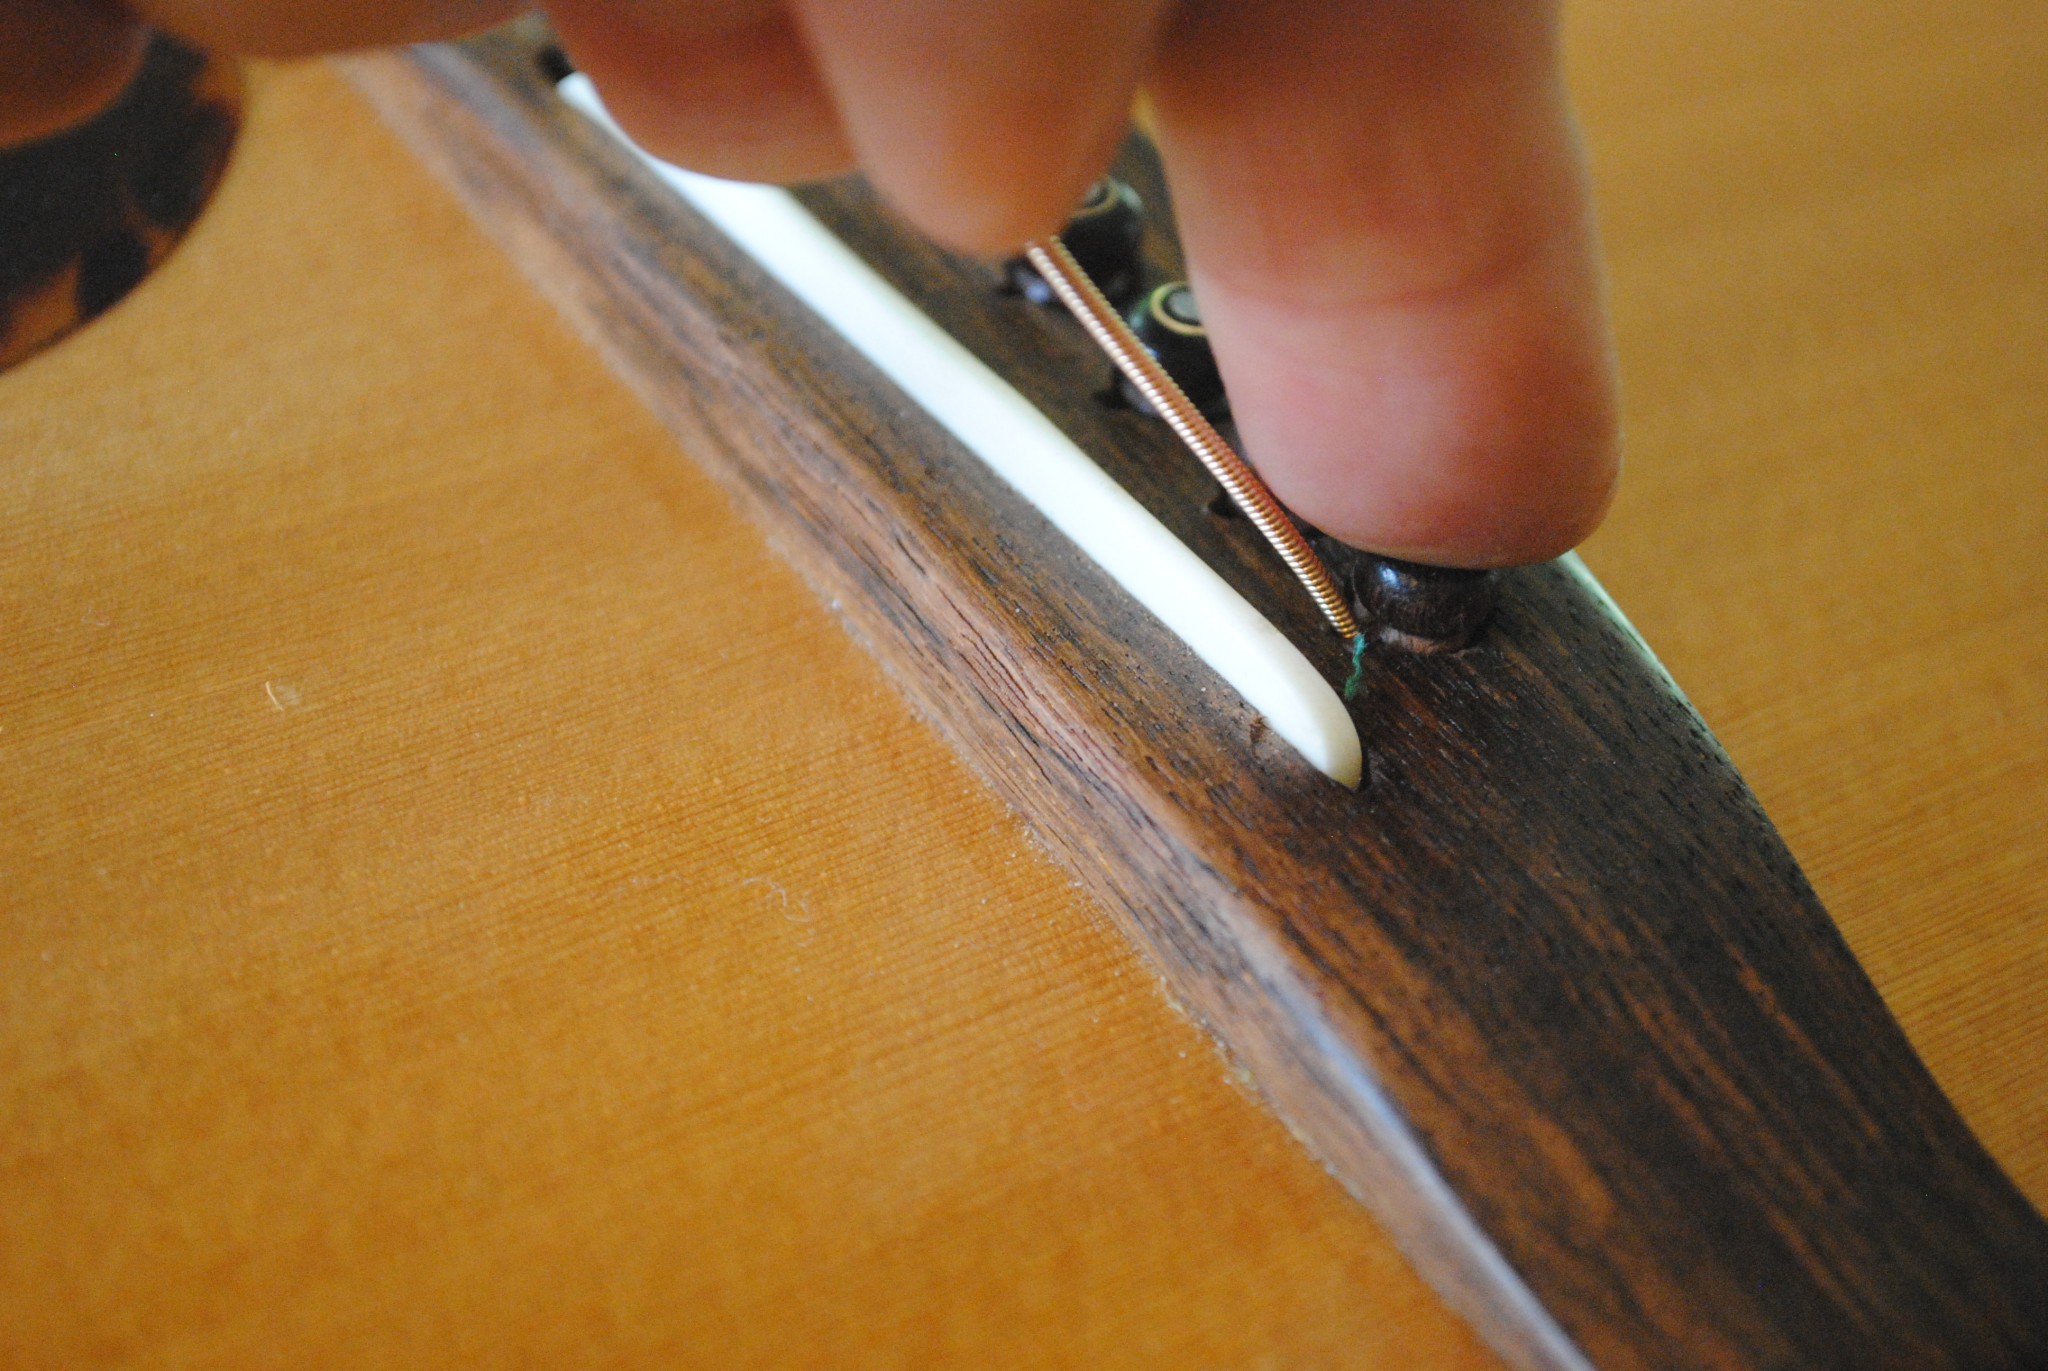
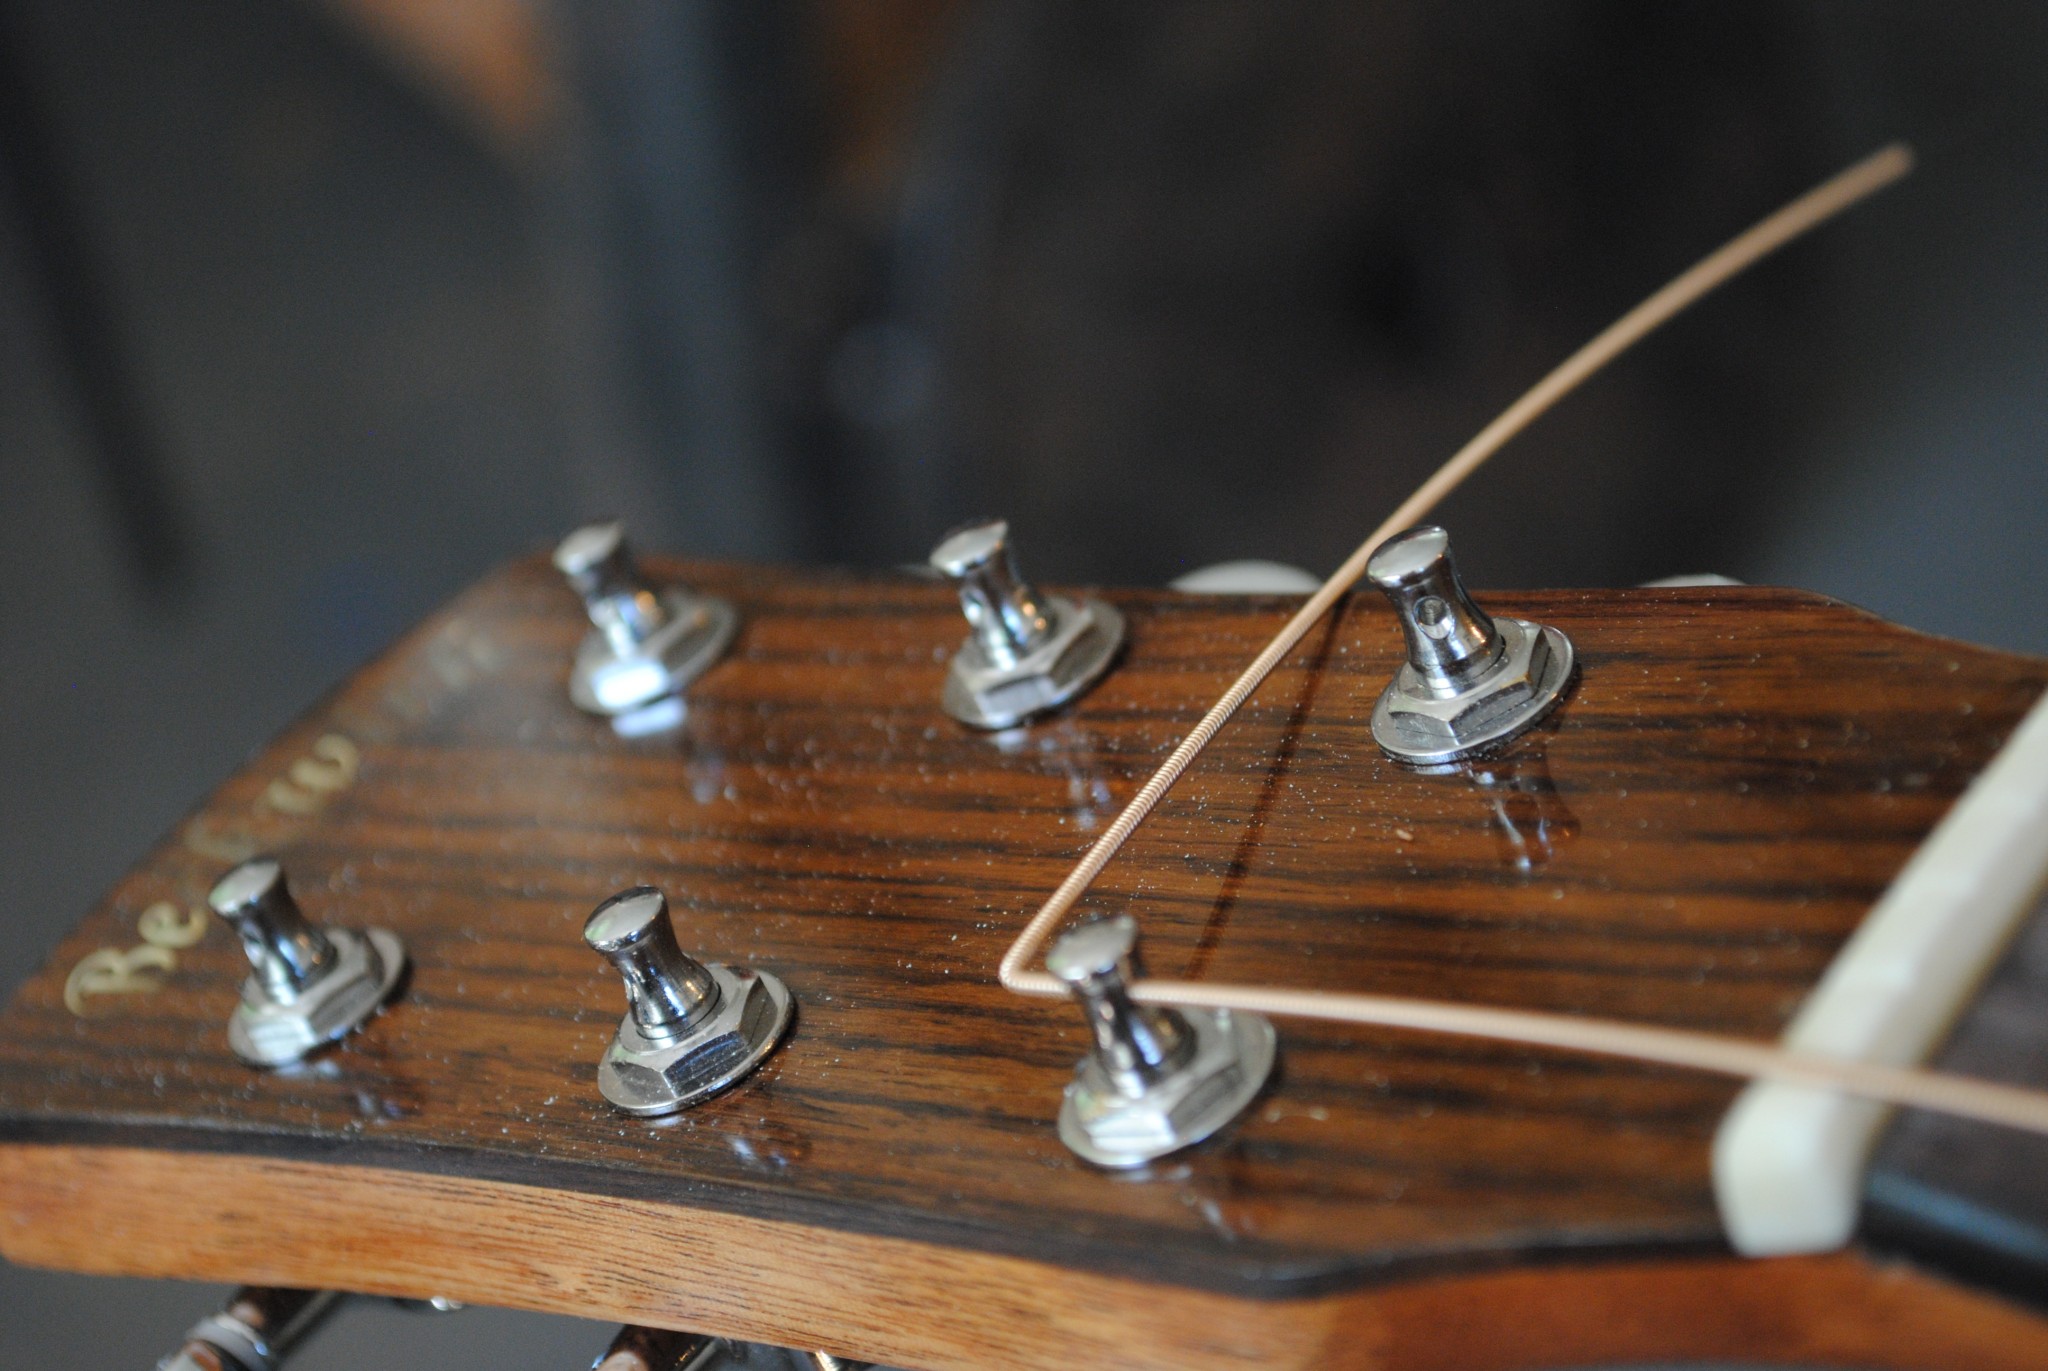
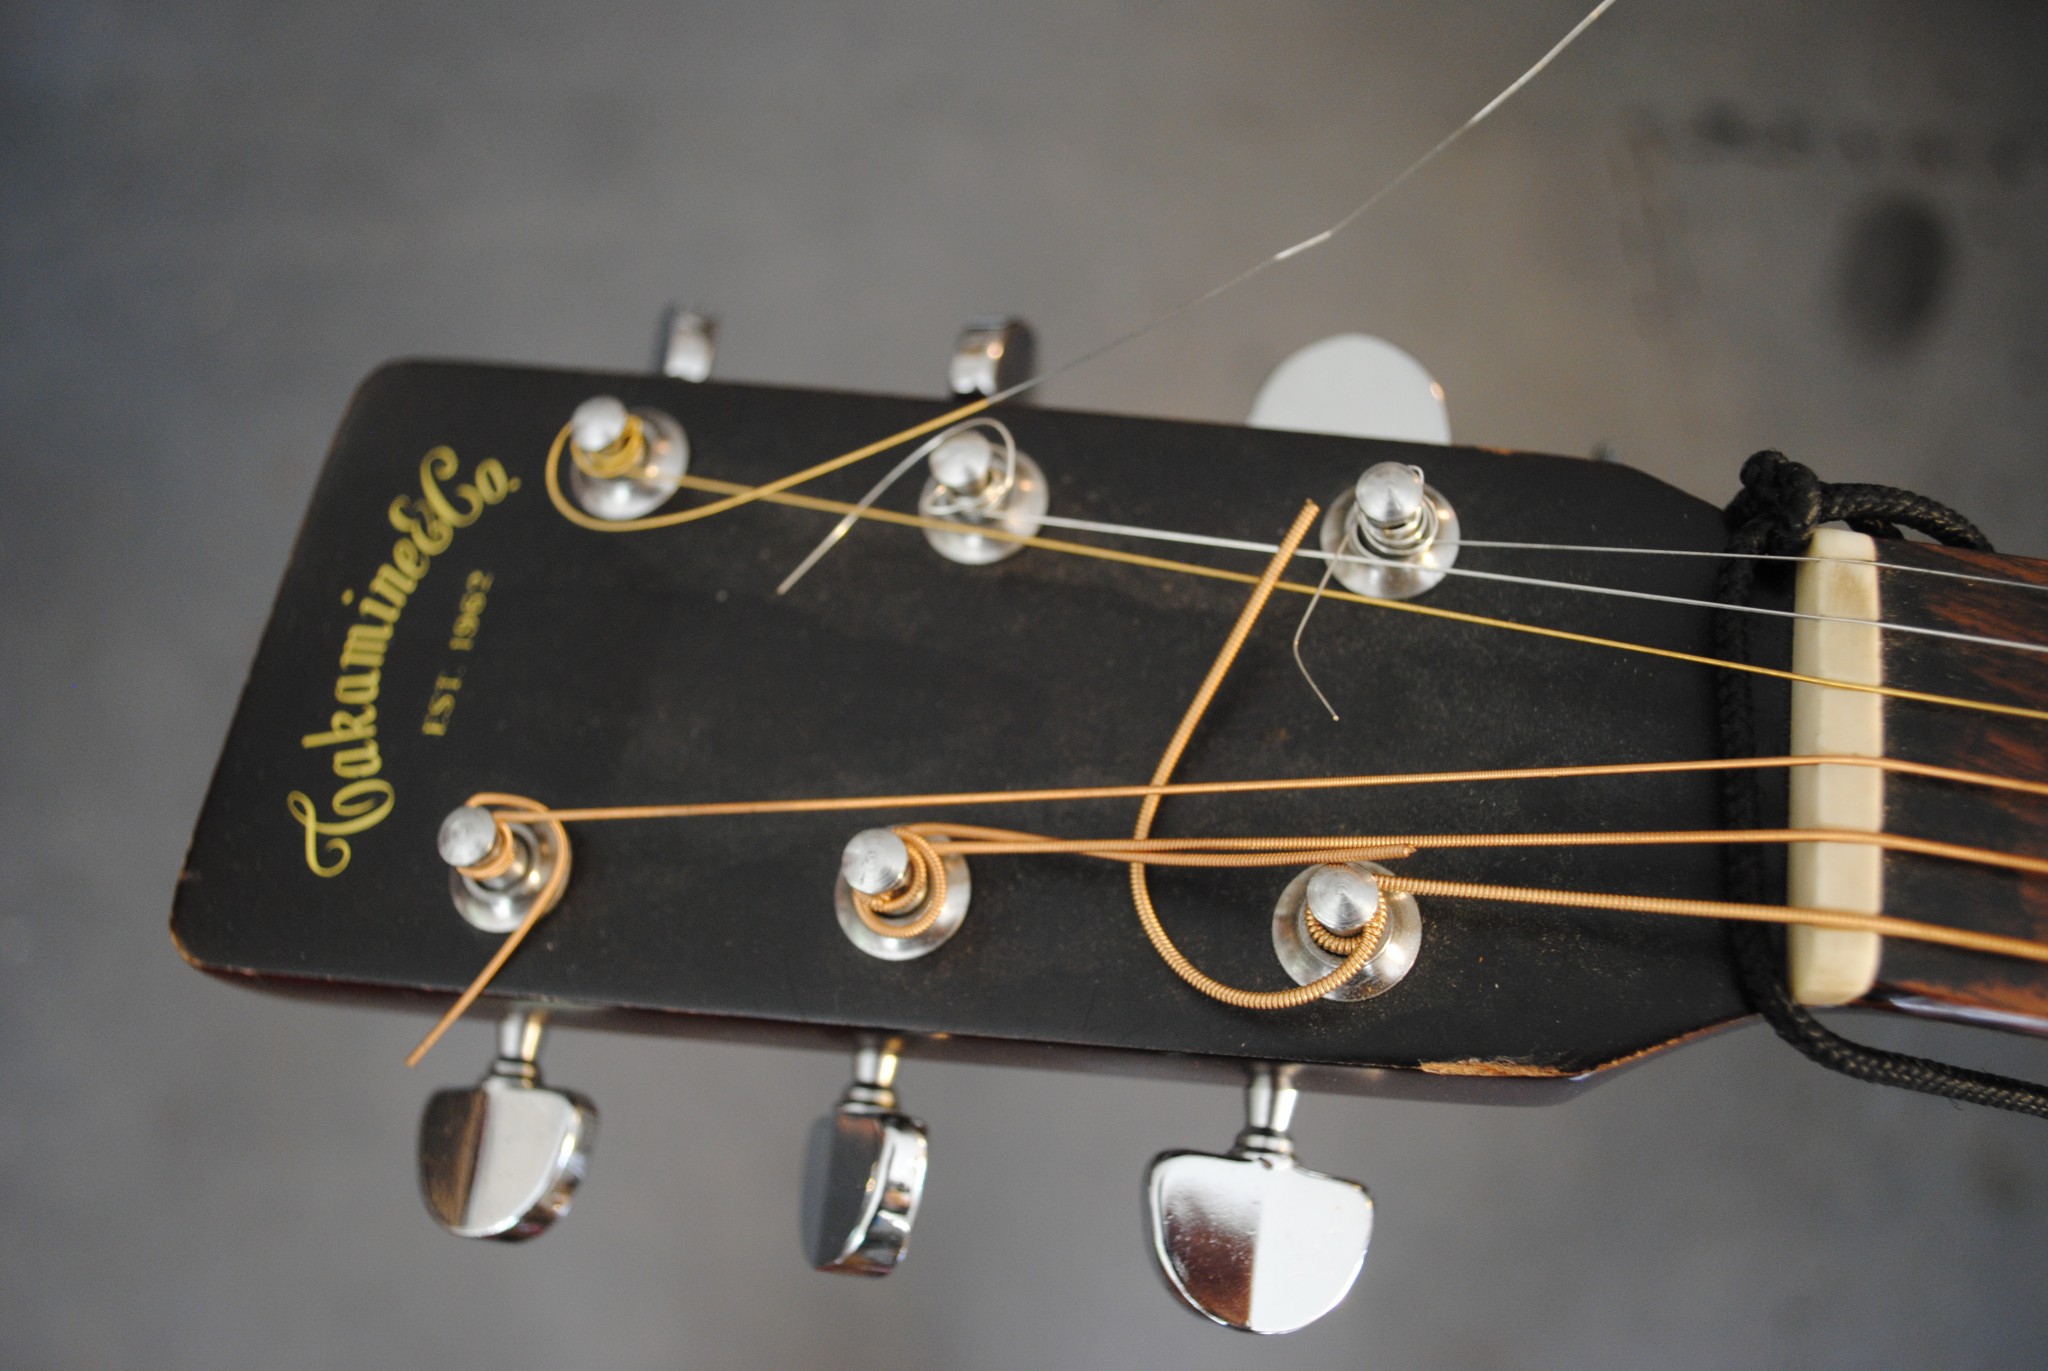
Piezoelectric pickups are usually found in the guitar bridge directly under the saddle (Figure 1) or adhesively attached to the underside of the guitar top (Figure 2).  The electrical signals from are weak, and may need a boost in strength via a preamplifier (preamp) that is typically located in the output jack.

Piezoelectric pickups with preamps will have a volume control and possibly a tone control usually mounted on the inner edge of the sound hole.  A 9V battery located in the body of the guitar powers the  preamp.  The preamp draws very little power and the battery will last quite some time before requiring to be replaced.   I put about twelve hours of weekly playing on my piezoelectric amplified “work” guitar and change the battery once a year – even then it still has a lot of “juice” left…

Piezoelectric pickups without a preamp are also available. They are less expensive and don’t require a battery. However they lack volume or tone controls and more importantly, your external amplifier may not have the gain to bring the volume up enough to be heard against vocals or other instruments (if you’re in a band).   An external preamplifier (complete with volume and tone controls) between the guitar and the amplifier is an option. However, expect to pay around $200 for quality external preamp.

Under-saddle transducers have been reported to “quack” at times – particulary with hard strumming.  I’ve only heard this once but have never experienced it directly myself.   More on that at the summary of this article.

Microphone Pickups

Just as your ears sense the change in density of the air (sound waves) around them, so does a microphone (“mike”).  Located in the guitar body, a microphone generates an electrical signal by senses the sound wave generated by the vibration of the guitar.  .

GHS1
Figure 4.  A gooseneck microphone pickup. The AA battery powers the condenser microphone and preamp (in the jack).

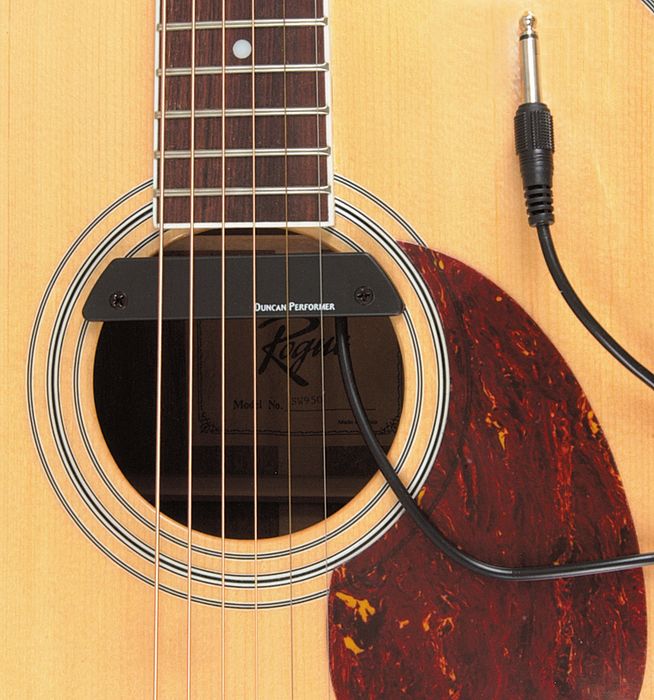
Most are gooseneck mounted inside the sound-hole (Figure 4.) while others are mounted in out-of-sight in the body. The former allows the player to position the mike in various locations around the sound hole.   A battery is required to power the microphone.   The condenser mike is more power-hungry than a transducer pickup/preamp and thus has a substantially shorter battery life.   It’s best to insure your guitar unplugged when not in use and to keep a spare battery in the guitar case.  LR Baggs  markets a microphone that is permanently mounted inside the body directly under the bridge.   There are also a number of less expensive clip on microphones available in the market.

Feedback has always been the boogey man of microphone pickups.   There is an asterisk with that statement.   Feedback is an issue when in a high amplification environment such as a band that’s really cranking the volume.   If you’re playing in lower volume environments such as coffee houses, restaurants, etc., then feedback is a non-issue.

Magnetic Pickups

Magnetic SH Pickup
Figure 5. A magnetic pickup can be permanently or – as seen above – temporarily mounted.

The movement of the guitar strings in the pickup’s magnetic field(s) generate the  electrical signal that is to be amplified.   While the body of the guitar plays a role in how the strings vibrate, the sound from a magnetic pick-up is the least likely to accurately reproduce the sound of the instrument.  Some magnetic pickup may actually render the sound as a solid body electric!

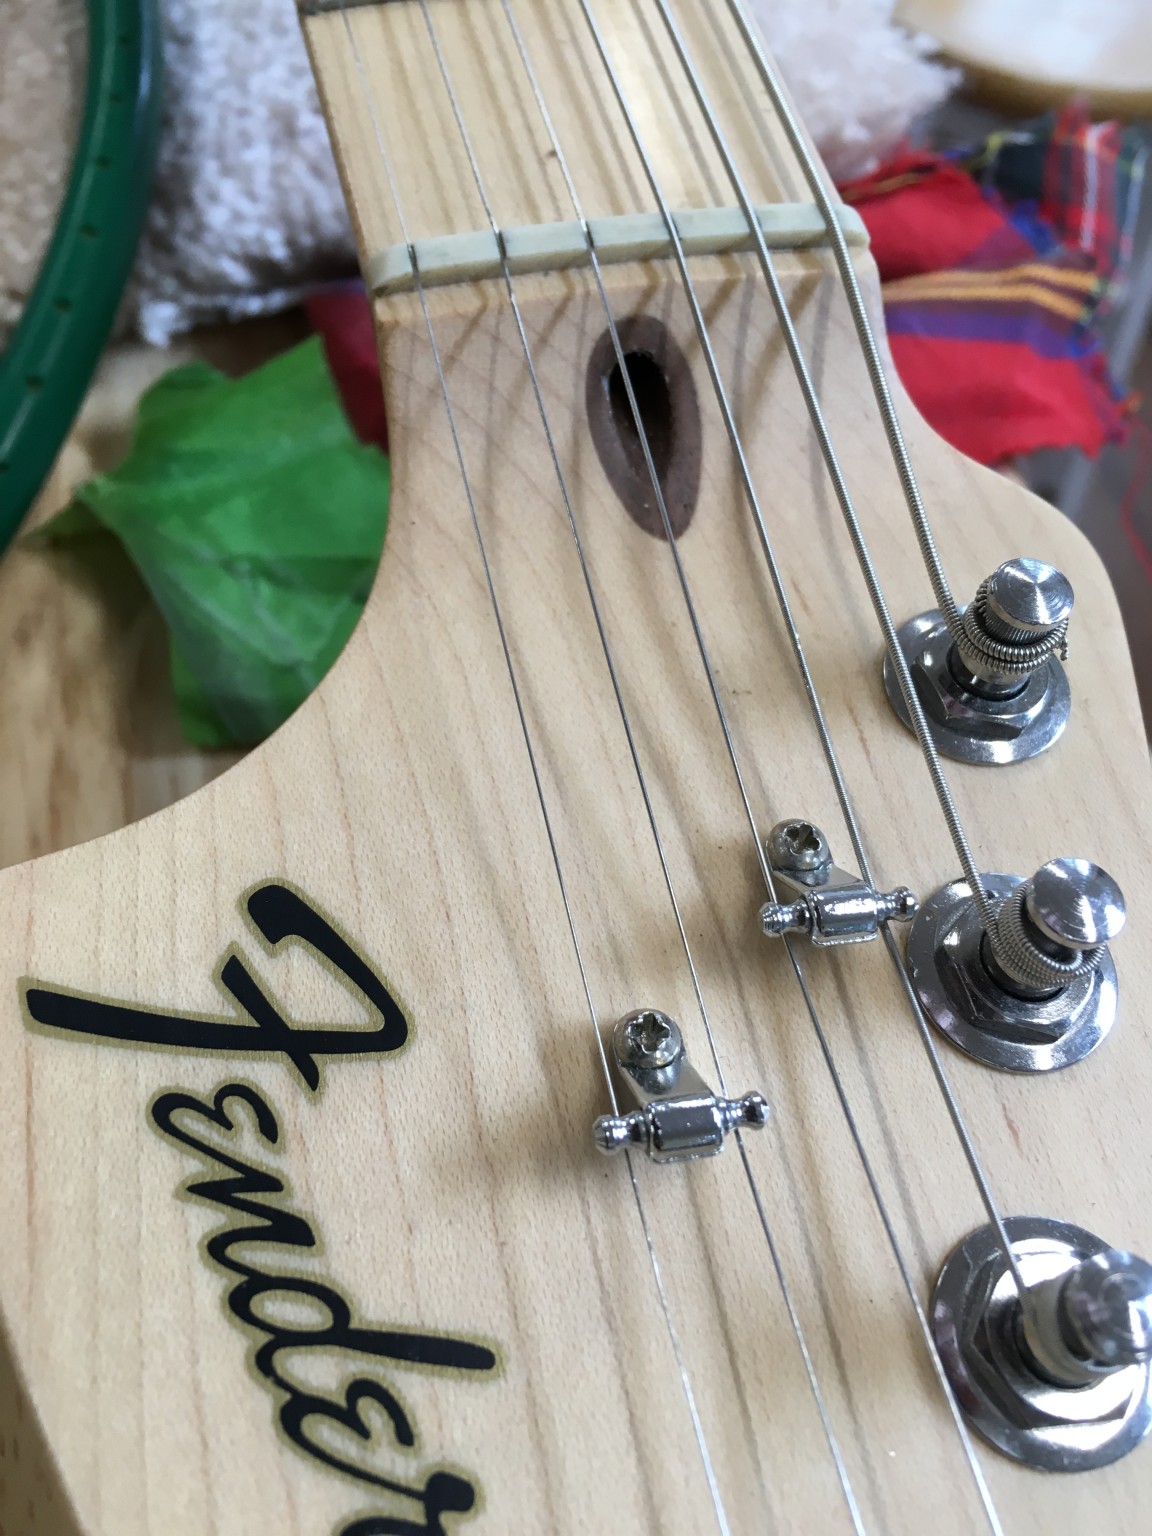
Located in the guitar’s sound hole (Figure 5), it can be temporarily (with the jack dangling from the sound hole), making it popular with owners of multiple guitars.    It can also be permanently installed with the jack in the tail of the guitar.   Some have a built-in preamp and are marketed as “Active” magnetic pickups.  Actives usually will tweak the tone giving the instrument a more “acoustic” sound.


Hybrid Pickups

Hybrids utilize two pickups -usually a microphone in conjunction with a magnetic or a transducer.   A “mix” control determines the amount of signal  coming from each pickup – either 50/50 from each pickup to %100 of the pickups.    LR Baggs’ hybrids have the microphone permanently mounted in the body of the guitar while most others are mounted on an positionable boom.

A Few Final Words

I regularly perform at coffee houses and restaurants where I use a Fishman “Loudbox Artist” acoustic amplifier for vocals and guitar.   My guitar’s pickup is an LR Baggs “Element” active under-saddle transducer.  It is also the pickup I recommend for the guitars I build for my customers as I’ve never experienced any “quacking” noise and I regularly receive complements on how good the guitar sounds.   As a builder and a performer, this is exactly what I want to hear!    I’ve also used a mike/magnetic hybrid and a mike/transducer hybrid.  The former didn’t give an accurate sound of the instrument and the latter was twice the cost of the under-saddle pickup with very little improvement in sound.    However, the solution that works for me may not work for you!    Table 1 below lists some pros and cons of each solution.

Type  Pros Cons Installation
Transducer
  • True sound reproduction
  • Long Battery Life (active)
  • Good for “loud” playing
  • Great value
  • Possibility of “quacking”
Professional
Microphone
  • Most accurate sound reproduction
  • Short battery life
  • Feedback in loud environments


Professional
Magnetic
  • Good for “loud” playing
  • Can be easily moved to other instruments
  • Least accurate sound reproduction
Self

Table 1

Whatever you choose (or have already chosen), it be great to hear about your experience!

Filed Under: Uncategorized

Save Repair Money, Humidify Your Guitar!

May 5, 2016 By Steve Beckwith Leave a Comment

DSC_4258
Figure 1. A top crack of a customer’s Taylor guitar. It developed during New England’s extremely cold and dry winter in 2014-16.

Why Humidify Your Guitar or Stringed Instrument

Humidifying a stringed instrument will help prevent cracks and eliminate buzzing strings during dryer, months of the year.  Figure one above

It is the nature of wood to absorb and release moisture from and to the air. You may have noticed a house door that sticks during certain times of the year. This is from the door and door frame taking on moisture and as a result expanding enough to cause edges of doors that once had plenty of clearance, now stick on a door frame.

It is no different with stringed instruments. The wood of your guitar, mandolin, banjo, etc. actually “moves” as it’s moisture content changes.   This movement results in the string height above the fingerboard changing and in some cases, cracks developing in the body of the instrument.

String height changes are most evident during dryer winter months of the year when the body behind the bridge lowers slightly, and a straightening neck results in strings lowering enough to start buzzing on one or more frets. You may also find that fret ends may stick out as the wood around the metal frets shrink.

Dryer months are also when cracks occur (Figure 1) and center seams open.  The sides and back of most acoustic instruments are thin and when coupled with imperfections in the wood grain, cracks may develop during dry weather This week, a customer brought a Martin D-28 into the workshop for a set-up. When removing the instrument from the case, we found a four-inch crack in the rosewood back in which he had been unaware.   About an hour’s worth of work took care of the crack, but it may have not been needed if the instrument had been humidified.

How Much Humidity is Needed

Beckwith Strings keeps the relative humidity (RH) around 45%-53%. This is the mid-range for RH in the general environment and ensures that when our instruments make it to the “real world” environment, they will be less likely to exhibit the issues described above.

Your instruments will do quite nicely if you can keep them in a room with a relative humidity over 40%.   However, a humidified room may not be realistic for some so an alternate solution is to keep it in a case with a humidifier.

DIY Case Humidifiers

There are plenty of case humidifiers on the market. There are also a number of ideas for DIY ideas on the internet if you’d like to search them out.   Here are two ideas from Beckwith Strings customers. The first uses a sponge in a soap case glued in the headstock end of the case of his 1951 Gibson L7 archtop guitar.   The soap case holds a wet sponge. Holes are drilled into the top of the soap case to allow moisture into the guitar case.

The second solution uses “water pearls” normally used in flower vases. A plastic container (aspirin container, etc.) with holes in the bottom. A small sponge is the bottom and the water pearls sit on top of the sponge (the other end is capped).   I like this particular solution as the water pearls (soaked prior to use) hold quite a bit of moisture so it will take a long time to dry out and need to be re-wetted.

IMG_2344
Figure 2.  A “holed” soap case with a damp sponge works is used by the owner of a 1951 Gibson L7 archtop. After sixty-five years, still no cracks…
IMG_2464
Figure 3. Water Pearls and a small sponge work very well. The water pearls are first soaked in water. Then put in this plastic container that’s kept in the case.
IMG_2465
Figure 4. Holes are drilled in the bottom of the case to let moisture seep into the case. The water pearls hold quite a bit of water so this solution does not have to be re-wetted as often as other humidifiers.

Make a Note…

Out of sight, out of mind.    The big problem with case humidifiers is they have to be re-wetted.  An even bigger problem is to remembering to do so.    Since you’re reading this blog on-line, I’ll go out on a limb and assume you have a device that has a calendar that allows you to set regular reminders…

So there you have two solutions. If you’ve other ideas, or techniques, we’d love to hear them.

Steve

Filed Under: Uncategorized

Guitar Neck Relief and Truss Rods

April 3, 2016 By Steve Beckwith 2 Comments

Introduction

A buzzing fret(s) is a common ailment of guitars that come through the shop door.   Usually, the fix requires leveling one or more high frets to the height of the other frets.   Occasionally,  the buzzing frets are a result of an over-tightened truss rod by a tech or player trying lower the guitars string height over the fingerboard.    While tightening the truss rod may have lowered the action, it also result in severe fret buzz during the dryer months of Winter.  Clearly, someone who did the work did not understand the purpose of a truss rod.

This article will explore why truss rods are needed and when and how they should be adjusted.

Defining Neck Relief

Neck Relief is the bend in a guitar neck resulting of string tension putting a very slight bow in the neck.  The amount of neck relief of a neck will change as the instrument ages and seasonally as the instrument is exposed to low humidity (winters) and higher humidity (summer) environments.   All guitar necks should have a tiny amount of relief in order avoid the strings “buzzing” on some of the frets.

Truss rods embedded in guitar necks, compensate for excessive bowing by bending the neck in the opposite direction of the bow.

Checking Neck Relief

Checking neck relief is easily accomplished by simultaneously fretting the low-E string at the 1st and 14th fret then observing the height of the string bottom above the 8th fret (Figure 1.)   The height of the bottom of the string and the 8th fret is the relief.   This is a three-handed operation best accomplished with a capo on the first fret as a third “hand” while your right hand frets the 14th fret and the the left hand uses a measuring device (feeler gauges or a rule with 1/64″ divisions) to measure the string gap at the 8th fret.

Slide2
Figure 1.    An exaggerated view of a bowing neck and the relief at the eighth fret.

Much Relief Should My Guitar Have?

The proper amount of neck relief is a function of the guitar type (acoustics need more than electrics), the preference of the player, and the uniqueness of the guitar. On acoustic guitars, I set the relief to be between 1/64” to 1/32” (0.0156” – 0.0312”).   Electrics are about 1/128” – the string is almost touching the fret, but you can still see “daylight” between the string and the fret.   These measurements are guidelines and are not carved in stone.

A Truss Rod Adjustment is Not a Guitar Set-up

Straightening the neck by cranking on the truss rod will not take the place of a proper set-up .  While you may get a temporary improvement in the instrument’s playability, this instrument may become ladened with fret buzz during environment (seasonal) changes.      A proper set-up requires the neck relief to be set prior to any nut or saddle work.   Once a proper set-up is performed on the instrument, the truss rod can be adjusted to compensate for the neck straightening and bending during seasonal humidity changes.

How a Truss Rod Works

The truss rod is a piece of metal with two threaded blocks welded to each end (Figure 2).   A second rod of metal with turned ends are screwed into the threaded blocks.   This second rod has either an allen socket or hex nut on one end allowing for it to be tightened or loosened.  When tightening the rod, the entire truss rod assembly bends into a bow shape, when loosened, it will straightened.  The assembly is installed in the neck so when it is tightened, it bends in the opposite direction of the the neck is bowing bowing.  This counteracts the force of the strings and straightens the neck.     Figures 3 and 4 show a bowed and straight truss rod respectively.


If you remove the tough plastic covering of a truss rod, youll find something that is similar to this drawing.
Figure 2.  Truss Rod Construction.   If you remove the tough plastic covering of a truss rod, youll find something that is similar to this drawing.
Truss Rod Straight
Figure 3. Un-tensioned (straight) Truss Rod.


Truss Rod with Bend
Figure 4. Tensioned (Bent) Truss Rod.


Accessing The Truss Rod

The adjustment ends of truss rods are located in in the headstock that may or may not have a truss rod over (Figures 5. and 6. ), or inside the body of an acoustic guitar (Figure 7.).  Some Stratocasters have the adjustment end of the truss rod at the body-end of the fretboard and the neck needs to be loosened from the body and tipped up as to access the truss rod.   In this case, its best to leave this work to a reputable professional.

IMG_2263
Figure 5. Access of the truss rod via the headstock of this Fender Stratocaster.


IMG_2446
Figure 6. Access to the truss rod is under the plastic “truss rod cover” (clever) on this 1964 Gibson J45 acoustic guitar that’s in the shop for repairs.


IMG_2260
Figure 7. Access of the truss rod via the sound-hole on an acoustic guitar.


Summary

So there you have it.  Neck relief is the amount of  bend in a guitar (electric or acoustic) neck.  It is determined by string tension and environmental condition and the proper amount to insure good playability without fret buzz is set by adjusting the truss rod. If the instrument has had a good set-up, you can make these adjustments yourself to compensate for changes in the neck during dryer and damper seasons.

Happy Playing!


Filed Under: Uncategorized

Painlessly Pull a Bridge Pin

August 7, 2014 By Steve Beckwith Leave a Comment

An easily alleviated frustration in changing guitar strings is  pulling the  reticent bridge-pin.   There are a number of “bridge-pin” pullers on the market ranging in price from five to ten dollars.    I haven’t tried these products so I can’t write about them.

I use is a simple pair of five-dollar wire cutters that can be found at any hardware store.   Spread the jaws apart, slip them under the bridge-pin (Figure 1)  and use them in as a lever (with the saddle as a fulcrum) to easily pry the bridge-pin up and out of the bridge (Figure 2.).  Keep the wire cutters handy as you’ll need them to snip off the excess guitar strings after their installation.

“Give me a lever long enough and a fulcrum on which to place it, and I shall move the world.”   – Archimedes 


DSC_3795
Figure 1. Slip the open jaws of the wire-cutters under the bridge-pin.


DSC_3797
Figure 2.  Using the saddle as a fulcrum, push down on the handles of the wire-cutters to lift the bridge-pin out of the bridge.

Filed Under: Uncategorized

Properly Changing Guitar Strings

July 12, 2014 By Steve Beckwith 3 Comments

If They Ain’t Broke, Why Change?

Old and worn strings have a dull sound and do not stay in tune.  Additionally,  the instrument becomes more difficult (and painful) to play.  I usually play three-hour length gigs.  If the strings are near their end-of-life, my fingertips really ached at the end of the night – a problem I don’t experience with new strings.   However, I’ve learned it’s usually time to buy new strings when the guitar’s tuning starts to slip on any of all of the treble (three thinnest) strings.

On the rare occasion, old strings  may even start to buzz.  As an aside, two weeks ago, a customer brought a guitar to my shop with an “A” string buzzing at the only at the 9th fret.  I checked to see if any of the adjacent frets were high and causing the buzzing – they were not.  I surmised the root cause was the string, changed it voila, the buzz was gone.   As stated above, it’s rare but it does happen.

How Often Should I change my strings?

Most of us don’t realize how dull guitar strings sound until they’re replaced with a new set.  If you experience any of the symptoms described above, change the strings.  Note that that the “sore finger” guideline is only for seasoned players with built up callouses on their fingertips.  I play minimum of ten hours/week and I change the strings about every four weeks.   So they’re changed after approximately  forty hours of playing time.   String life will vary between the size (mediums, lights, extra-lights) of the string and by manufacturer.   

One String At-a-Time or All-at-Once?

Years ago, I used to change one string at a time.   This allowed me to use the remaining five strings as a reference to tune the new string.    The advent of inexpensive microphone and later, clip-on vibration based tuners, made the one-at-a-time method was no longer necessary.

Either method (all at once or one-at-a-time) is ok, but my recommendation would be to change them all at once.  Removing  all of the strings gives you an opportunity to clean the body directly below the strings and the headstock around the tuners.

Either method (all at once or one-at-a-time) will work, but I recommend “all at once” this gives you an opportunity to more easily clean the body directly below the strings and the headstock around the tuners.

The one exception is a guitar with a floating bridge (usually found on archtop guitars). In this case change the strings one-at-a-time as string tension is holding the bridge in place.  In this case, consider changing one-at-a-time or changing the four inner-strings and then the two outer (low-E and high-E) strings.  This will ensure the bridge will stay in place and not impact the instrument’s intonation.   

MYTH: Some players  believe removing all the strings at once will impact the neck.  This belief is is incorrect.  The neck will “relax” with all the strings removed but it will go back to position once it is restrung and tuned.

Getting Down to Business

To properly string a guitar, we’ll will focus on three areas: inserting and pinning the ball-end of the string (acoustic), determining the correct length of string and wrapping the string on the tuning peg.

Pinning the String

Okay, the strings are off and you’ve cleaned the instrument.   On an acoustic guitar, the first step is to put a slight bend (fig. 1) in the ball-end of the string where it leaves the bridge-pin hole.  This is usually where the core (wrap) of the string ends.   This bend will give your guitar it’s best volume (you may not be able to discern this increase in volume,  but it is “technically” true).   Next, insert the string into the bridge-pin hole, then insert the bridge pin so the slot in the pin is lined up with the string (fig. 2.) Finally, give a gentle, upward tug on the string so the ball catches at the end of the bridge-pin (fig. 3).

Figure 1. The ball end with a slight bend just ahead of the over-wrap of the string.
DSC_3804
Figure 2. Insert string into bridge hole and align the bridge pin so the string fit’s inside its slot.
DSC_3805
Figure 3. Press the bridge pin down as far as it will go. Then hold it in place with one finger than pull upwards so the ball of the string lodges against the underside of the guitar top. Here I use one hand as the other was holding the camera. It’s easier with two hands…

Once the string has been pinned,  run the opposite end through the tuning post (fig. 4).   Next take four fingers and put them under the string at the 14th fret of the fingerboard (fig. 5) and pull the string taut (fig 6.).   Next, bend the string as it exits the tuner towards the center of the neck head (fig. 7).

Once the string has been pinned,  run the opposite end through the tuning post (fig. 4).   Next take four fingers and put them under the string at the 14th fret of the fingerboard (fig. 5) and pull the string taut (fig 6.).   Next, bend the string as it exits the tuner towards the center of the neck head (fig. 7).

Figure 4. Line the tuner hole so the string will make a straight line from the bridge.
Figure 5. With four fingers of one hand under the string at either the 14th fret or where the neck meets the body, pull the string taut.


Figure 6. Turn the string towards the center of the headstock. On the bass strings, this is to the right, the treble strings go to the left.

The Wrap

Once that bend has been made, bring it back around and under the  string (between the nut and the tuner poster) then fold the string OVER towards the center of the headstock (figures 7 and 8).    Start winding the string on the peg by turning the tuner button in the direction that the string Hold the string in one hand while pinning the excess string length with the index finger of that hand.   Begin turning the tuner in the direction that will wind the string on the tuning post so it is on the inside of the tuner.  Keep winding until taut.   Proceed to installing the next string.

Figure 7. Take the excess string under the rest of the string where it enters the tuning post hole.


Figure 8. Fold the excess string back over on itself as shown above. Once the fold has been made, keep it pinned with your index finger and begin turning tuner to wind the string on the tuning peg so the string is on the inside of the tuner.

Tuning the Guitar

The next step is to bring the instrument up to concert pitch.   We will use standard tuning (EADGBE) and a tuner.   At this point, I recommend using a tuning instrument or have a piano handy to give you a reference tone.    I prefer clip on tuners as pianos will not fit in my guitar case.     Tune the Low E string first and proceed to the remaining five strings.    Now you’re going to find that none of the strings are in tune and you have to go back and do it again

However, this time bring the low-E string slightly above the target tone and give the string a gentle tug by running two or three fingers under the entire length of the string (Figure 9).  Once you’ve finished stretching the string.  Check the tuning and tune again to the final pitch.   Repeat this step of the remaining five strings.

Figure 9. Stretching the string.

New strings stretch and lose pitch until they reach their final length.  This usually takes a few days.   The stretching process described above greatly reduces the settling time to about the time it takes to play a few songs.

The final step is to use a pair of dykes (wire cutters)  to trim the excess string from the tunings post(s).  You can do this after each string is added, however I prefer this to be the last step in the process.

Figure 10 is of a well-strung instrument.  Note each string only has two or three wraps on their respective posts.   In contrast,  Figures 11 and 12 illustrate some stringing which could lead to the problems described at the beginning of this text.

A clean stringing job. A few wraps around the tuning post and the excess strings
Figure 10.  A clean stringing job. A few wraps around the tuning post and the excess strings


Figure 11. This guitar lose string ends that can rattle around, stick you in the finger. The bass strings seem to have the proper number of wraps while the treble strings have to many...
Figure 11. This guitar lose string ends that can rattle around, stick you in the finger. The bass strings seem to have the proper number of wraps while the treble strings have to many…


Figure 12. This guitar has to much string wrapped around the tuning posts.


Keep Playing!

–  Steve


Filed Under: Guitars

  • 1
  • 2
  • Next Page »

About

Beckwith StringsSteve Beckwith has handcrafted over one hundred acoustic stringed instruments to address the need of musicians unable to find the exact sound from mass manufacturing instruments.

Location and Appointments

Beckwith Strings
26 North Street
Grafton, MA 01519

By  Appointment  978-833-6383


Copyright © 2025 · Beckwith Strings · Grafton, MA 01519